Overview
- Conveyor belts are used for connecting resources to factories, warehouses and other buildings
- Factory buildings have input and output ports and it's your choice as to which one is which
- Simple machines like a Circular Saw and Press have one input and one output
- This will be the focus of the first tutorial
- Other machines have multiple ports that require logistical routing of multiple conveyor belts
- This will be demonstrated further in the article
- For those who want to maximize the throughput of conveyor belts, more detailed topics will be explained at the end of the article
- The first tutorial will focus on understanding how to use conveyor belts and different build techniques
- The reason as to how many factories are used and the types of warehouses will be explained later (to avoid overloading the tutorial)
NOTE: Pause the game while building factories; as explained in this article you can make changes at no cost (for objects placed while in pause mode).
Simple Tutorial
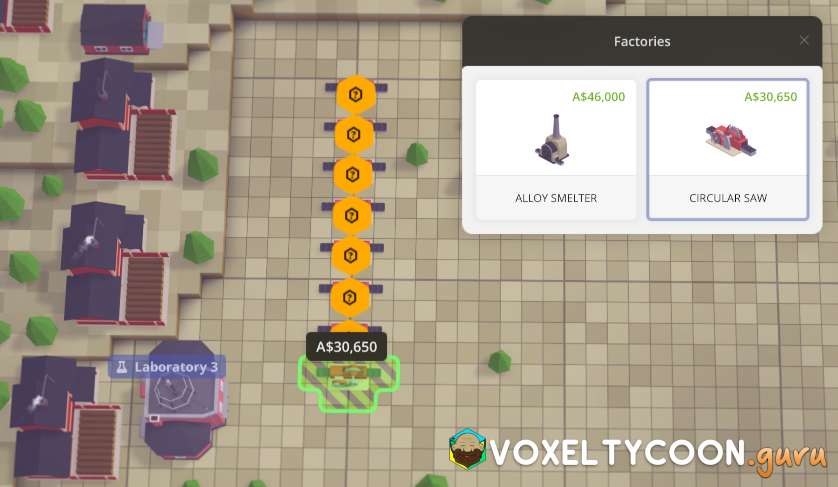
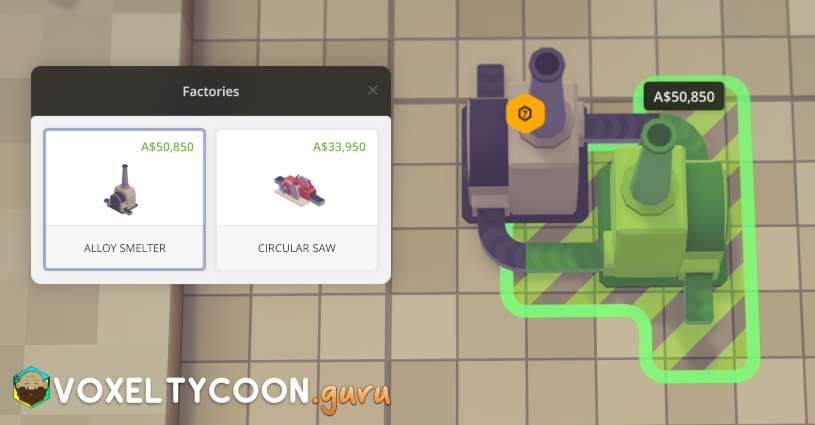
- Access the Industry > Factories menu and select the Circular Saw
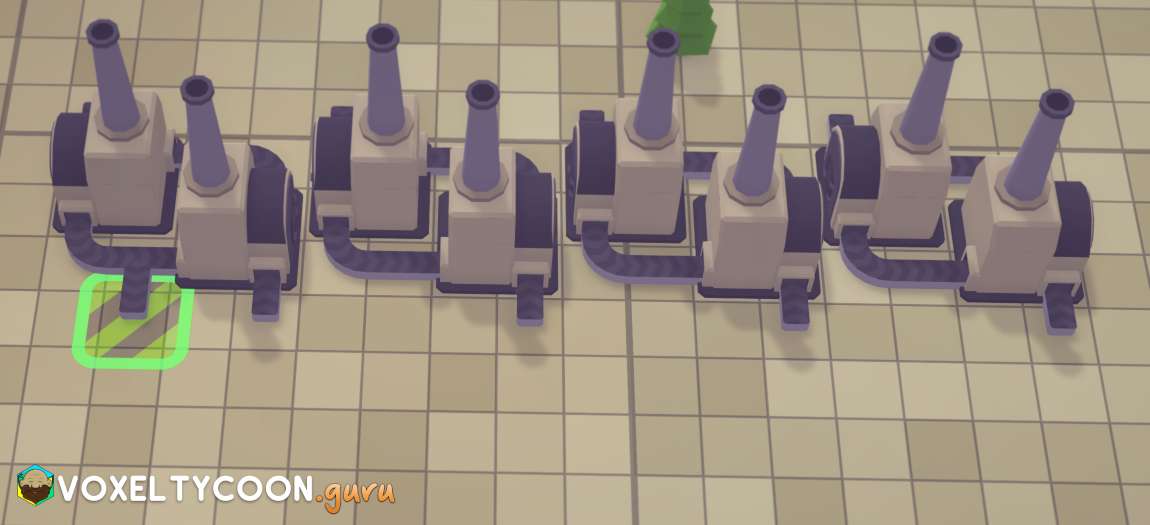
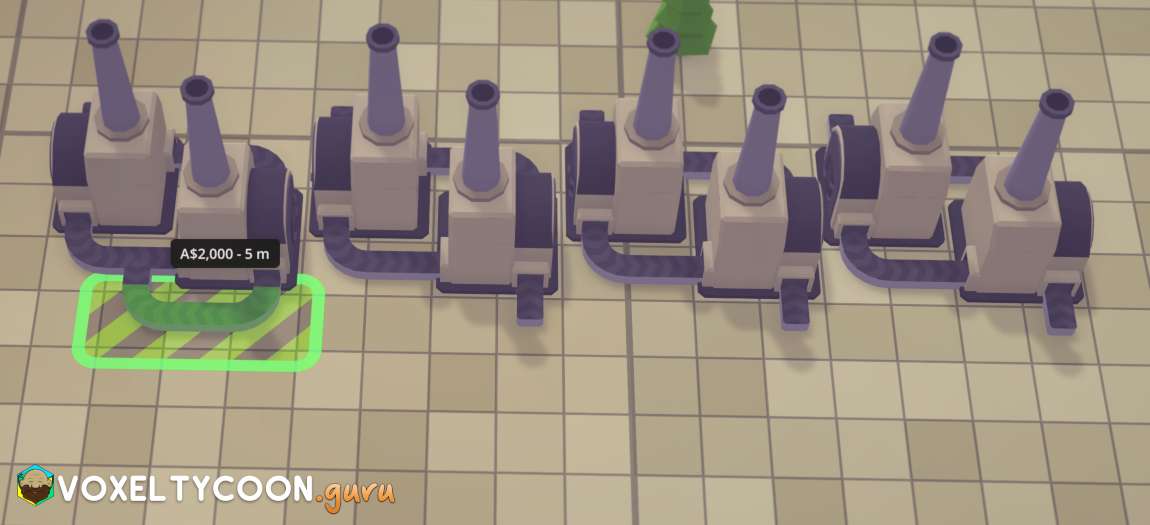
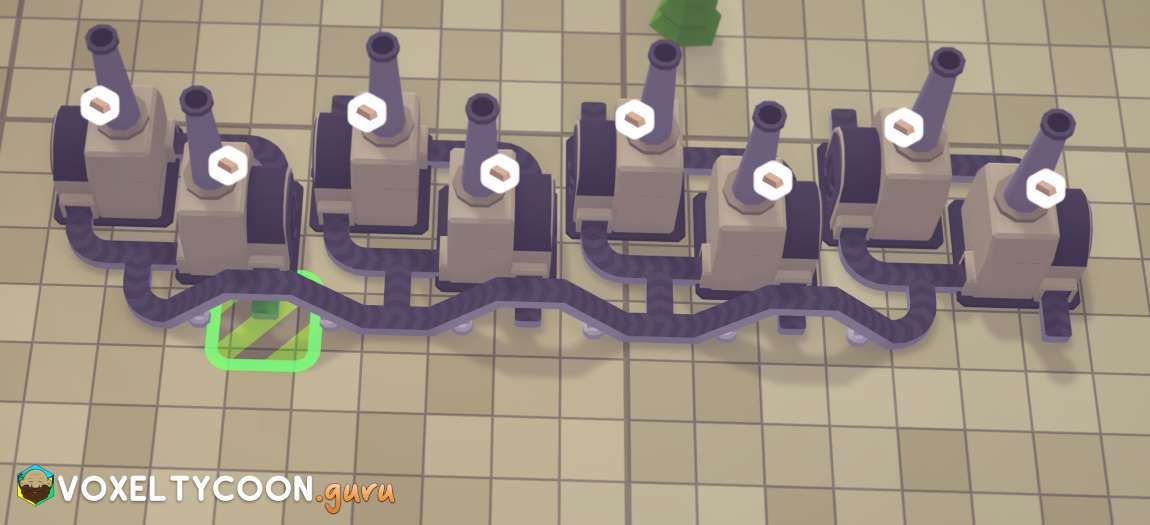
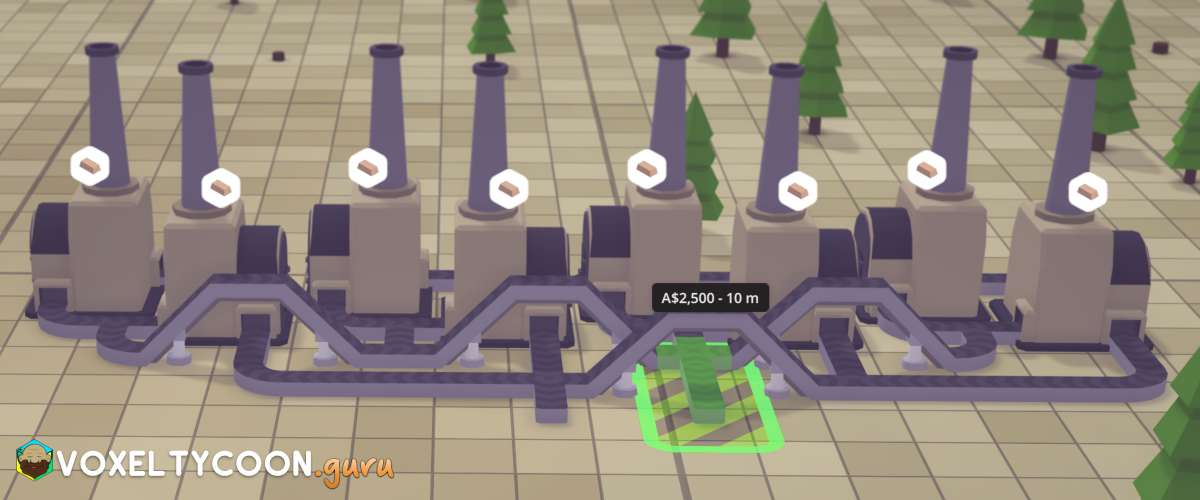
- Place 8 x circular saws in a row
- You can press R to rotate the saws
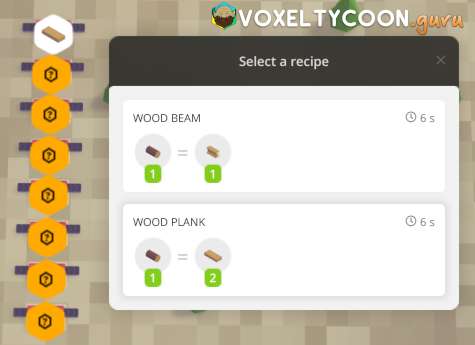
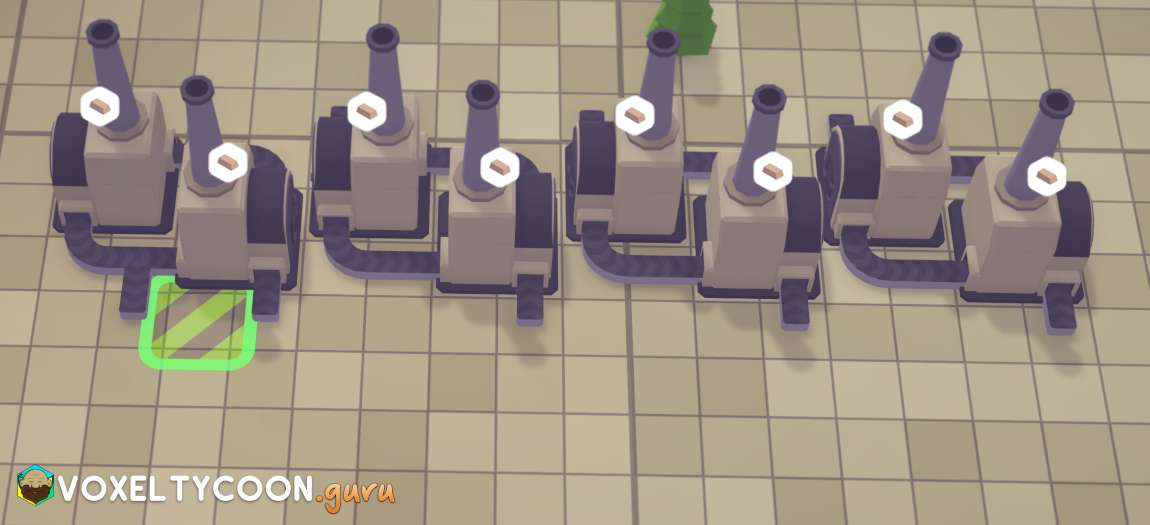
- Click on each machine to select the recipe
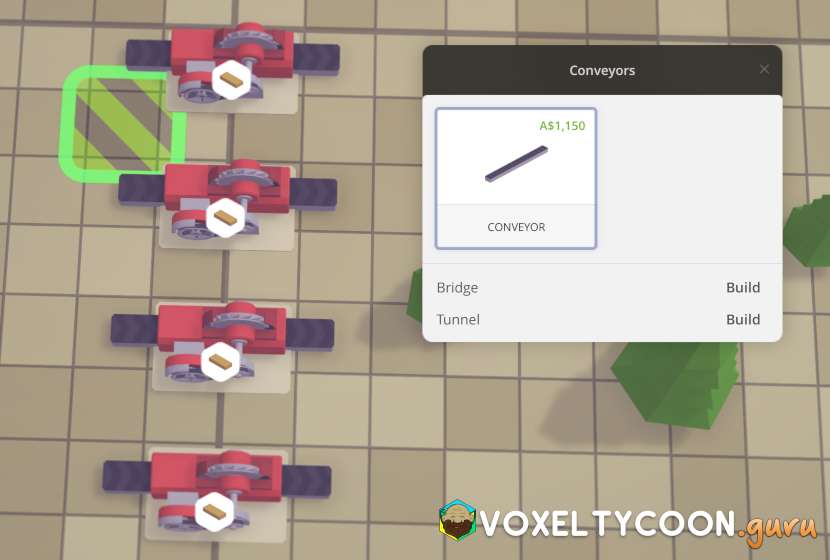
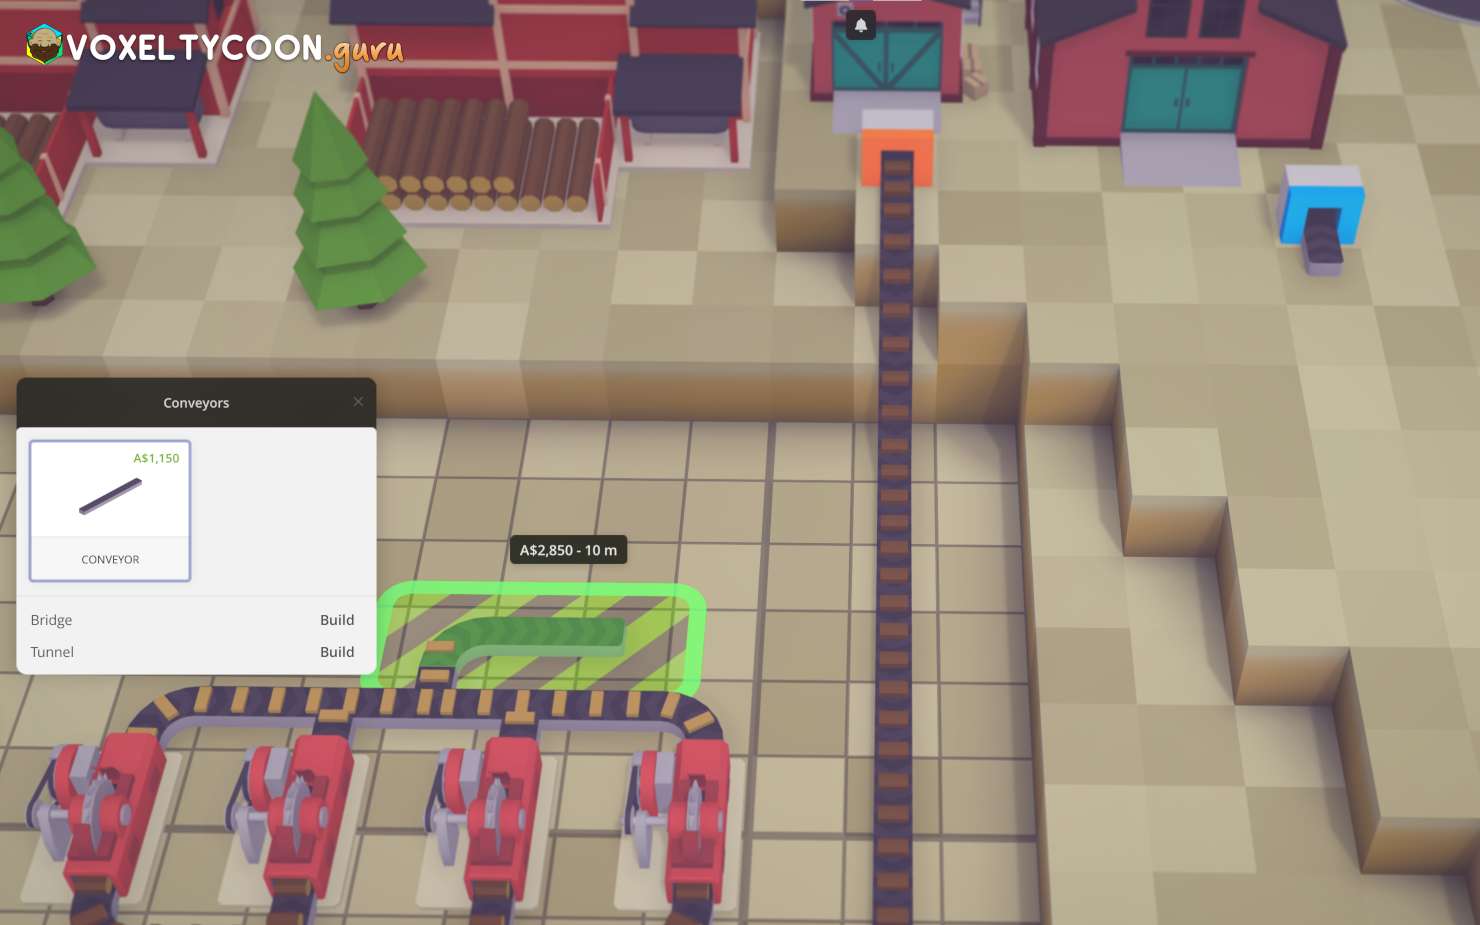
- Select the conveyors tool
- Start off by clicking once in the square between the conveyor belts
- TIP: The purpose of staring between the belts is for a compact build
- If you started further out, the belts would be longer, that is the only difference
- TIP: The purpose of staring between the belts is for a compact build
- Move your mouse cursor down so that four machines are highlighted
- Click the mouse button again to create the conveyor belt
- Repeat this on the other side of the saws and again for the second set of 4 saws
 |  |
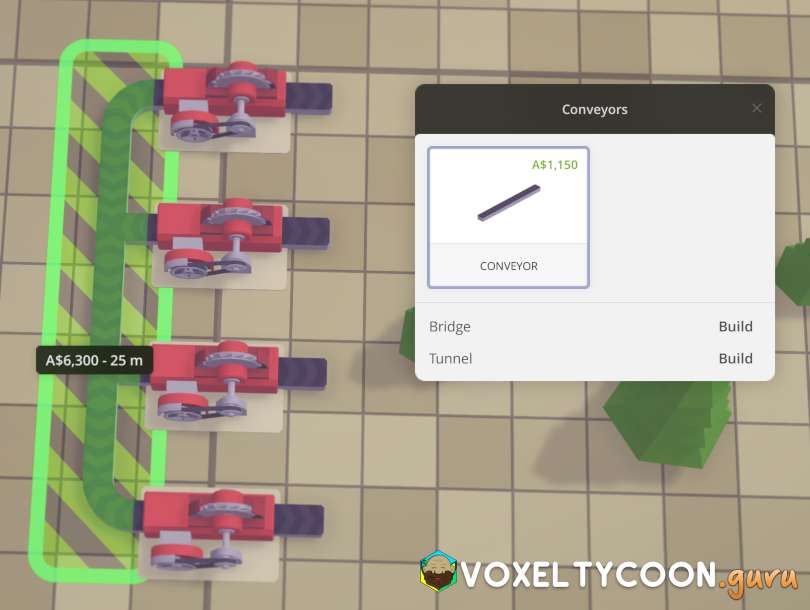
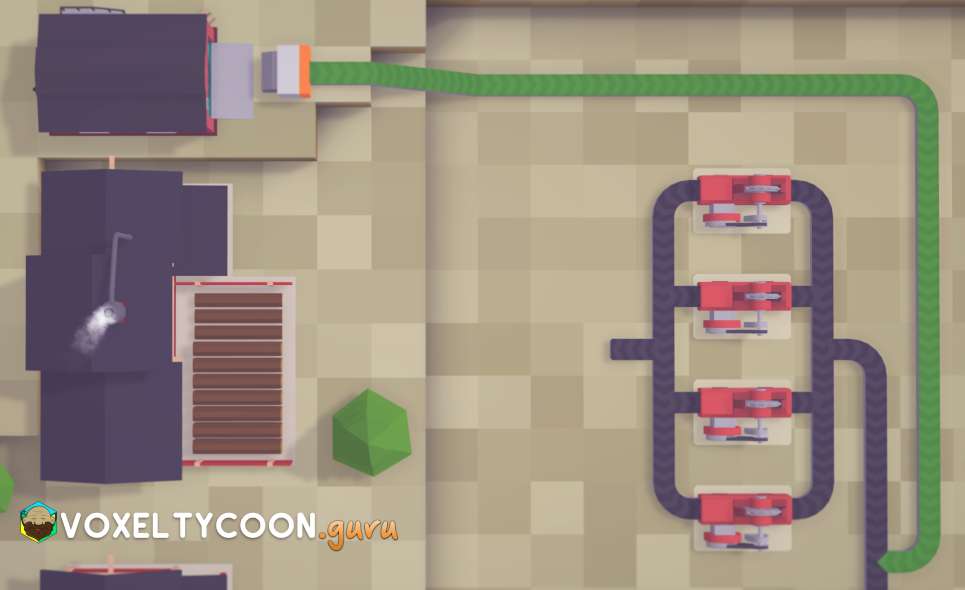
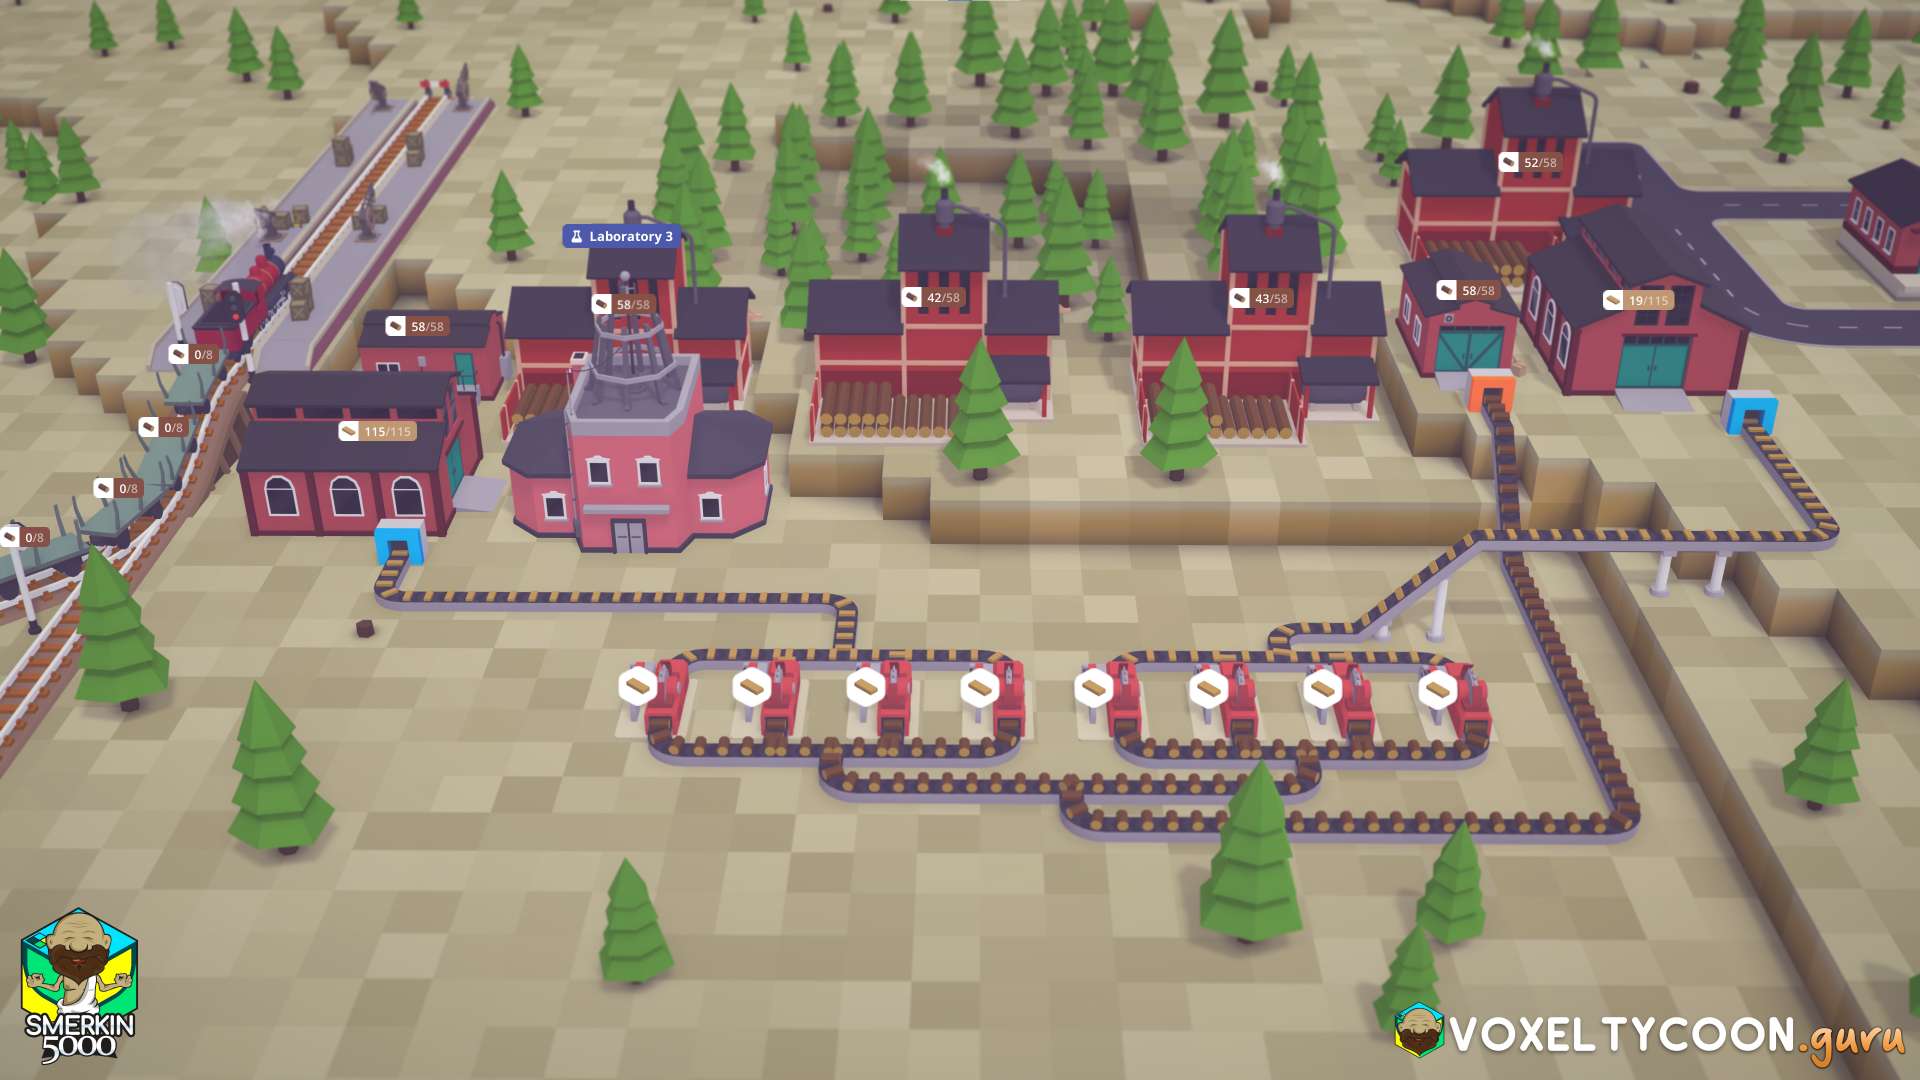
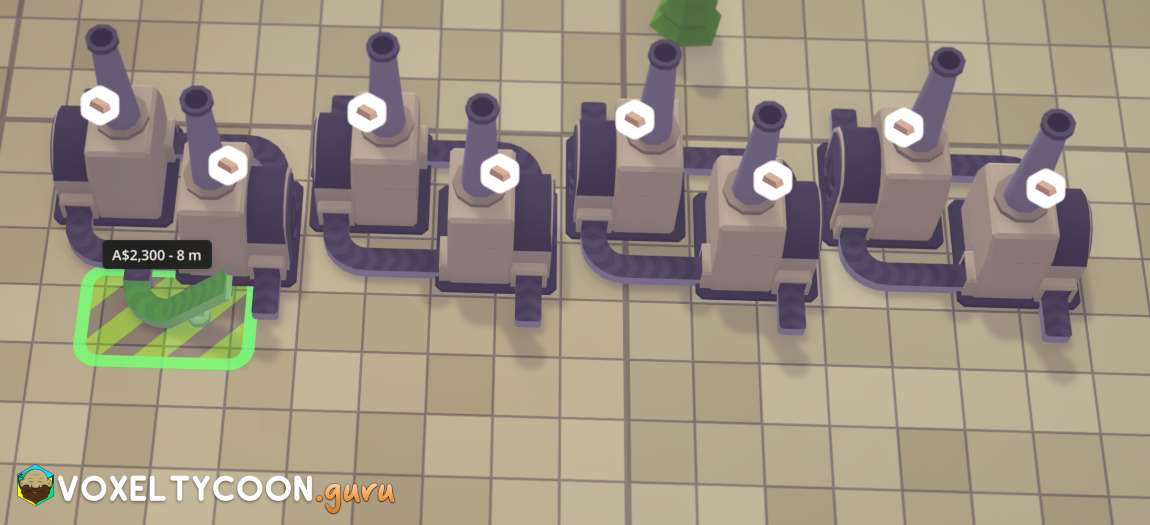
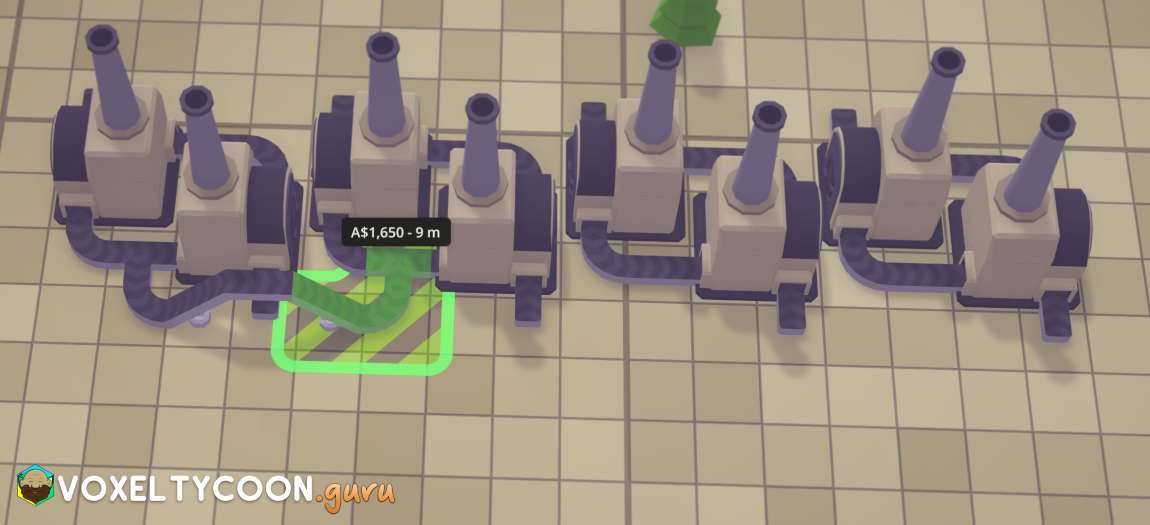
- In this build, I am going to feed the two groups of sawmills from the right hand side
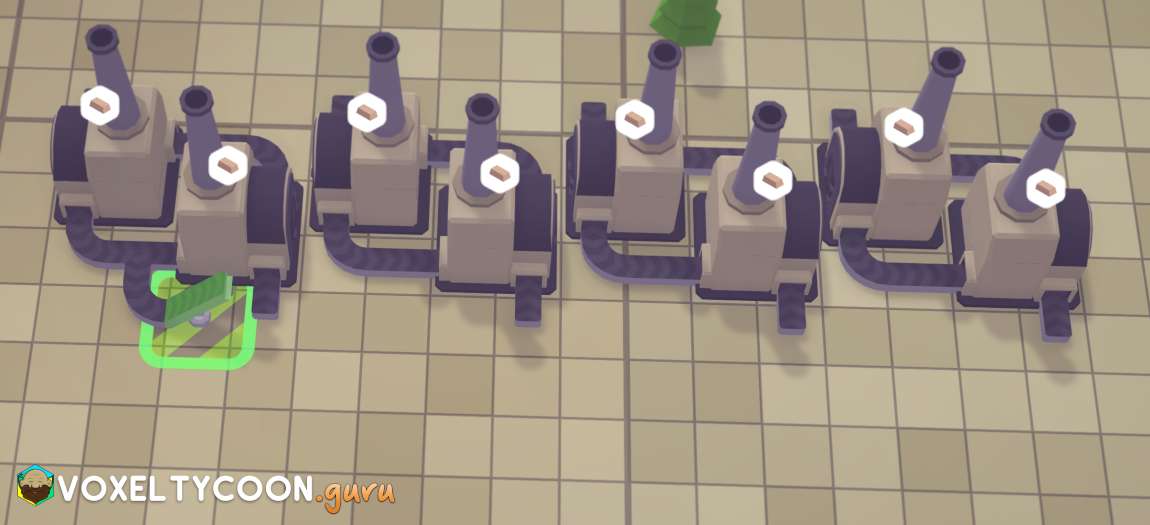
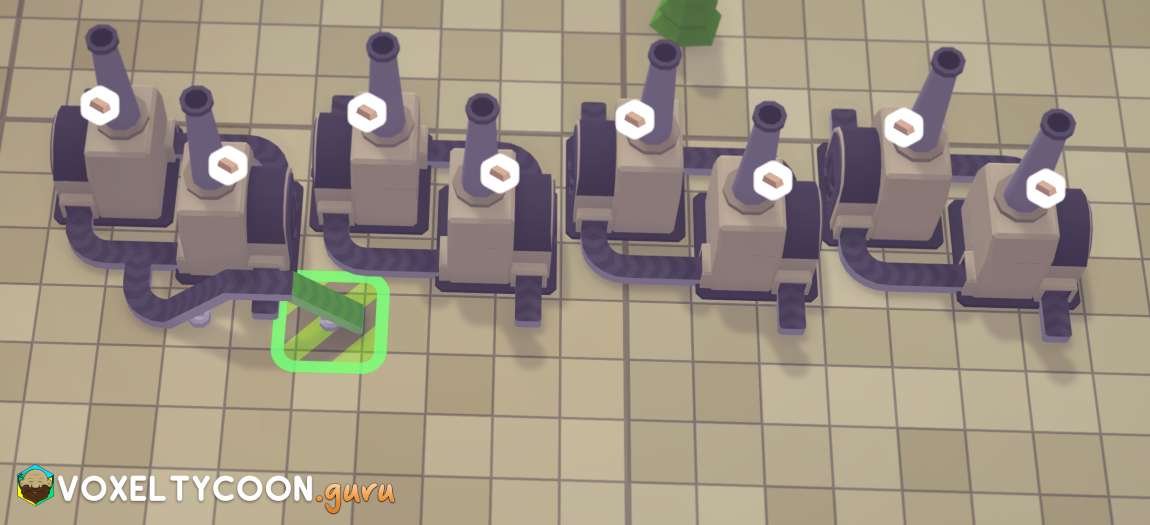
- Start a conveyor belt in the middle of the first group and bring it down to the middle and click again to complete it
- Repeat for the lower group of saws and connect it to the other belt you just created
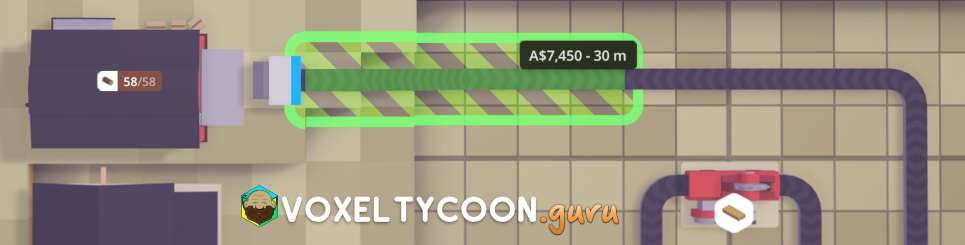
- The warehouse is what will supply the saws with wood
- You can see I ran a conveyor belt from the last belt I made up above the saws towards the warehouse
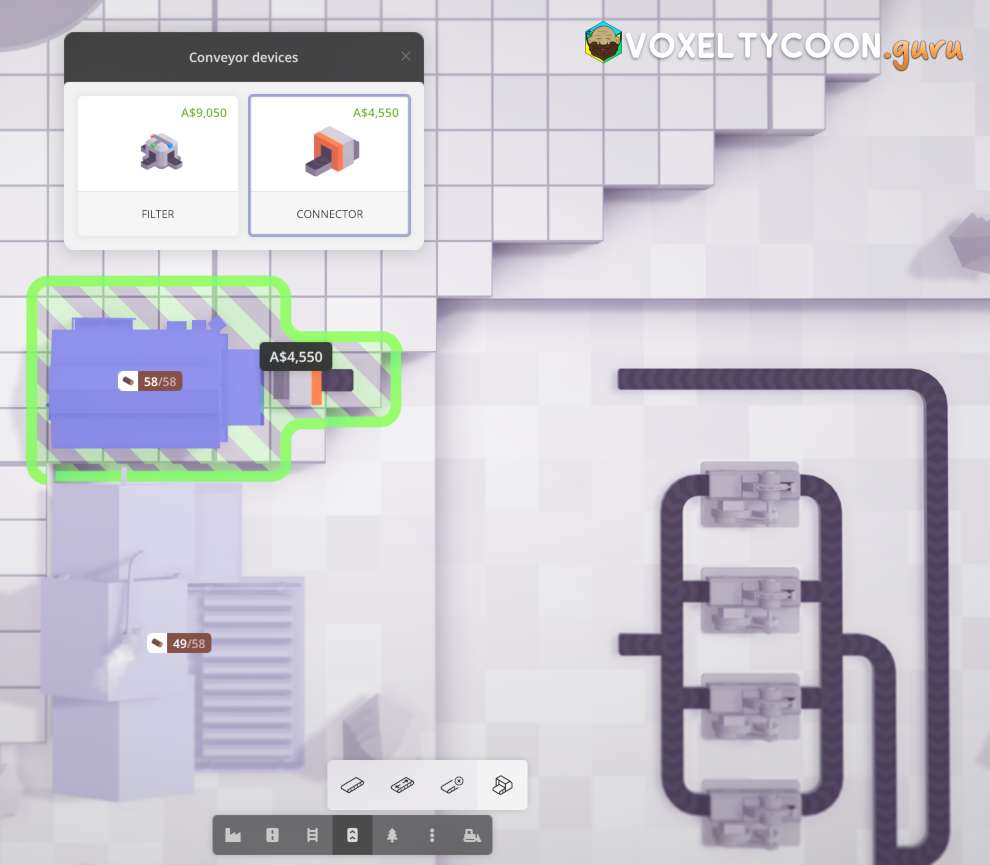
- From the Conveyors menu select the Conveyor Devices group and select Connector
- Place the connector against the warehouse and click to create it
- You can rotate the connector with R
- The warehouse will be highlighted to indicate that this is what the connector belongs to
- Join the connector to the existing conveyor belts
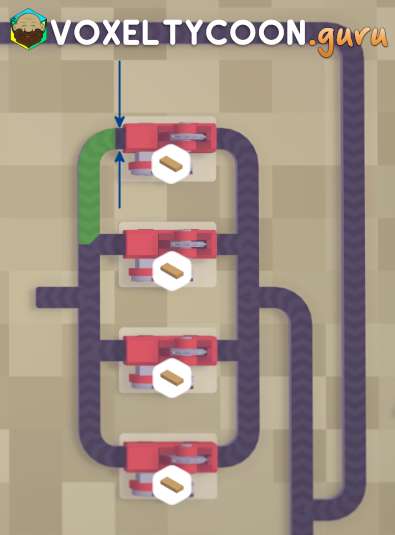
- You will notice the following in the screenshot
- The top conveyor belt has a direction from right to left ←
- Going towards the warehouse (wrong direction)
- The existing conveyor belt has a direction towards the saws (correct direction)
- The top conveyor belt has a direction from right to left ←
Totally Important Information Here, Pay Attention
- The build mechanics of the game allow you to define the direction of the inputs and outputs of factories and connectors
- This is an extremely flexible feature of the game, however it does add a layer of complexity that needs explaining
- In the screenshot above you can see the Flip conveyor tool has been highlighted
- The top conveyor belt is currently highlighted as the mouse is hovering over the belt
- When you click the mouse, the direction of the conveyor belt will flip
- Sometimes when a belt you built has several sections, you might need to flip a couple of times to orient then all in the desired direction
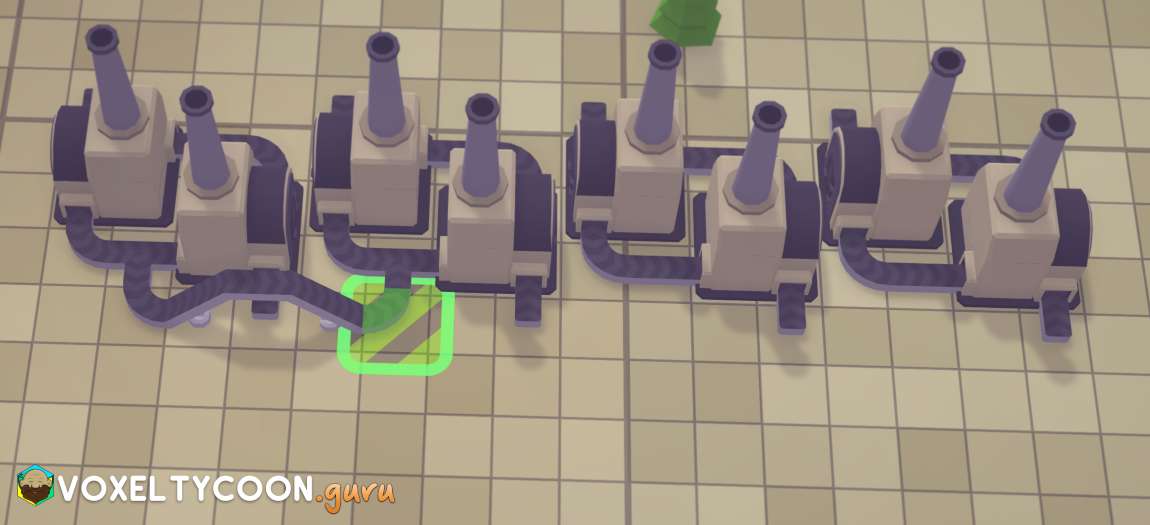
- Pay special attention to a screenshot ahead that highlights extremely small sections of belt
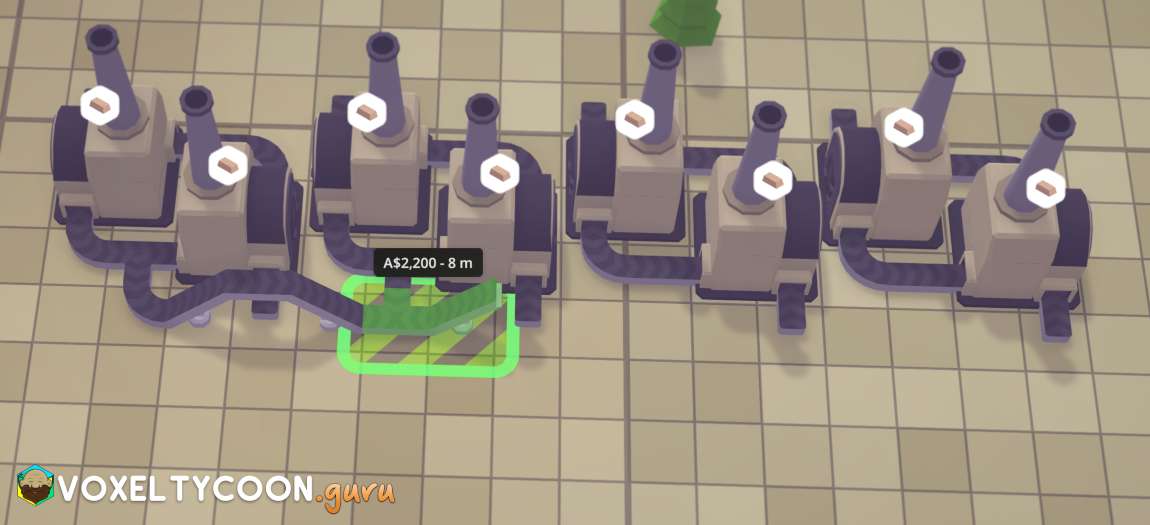
- After using the flip conveyor tool the belt is now one piece and facing the correct direction
- You need to go over the entire build of conveyor belts and ensure the direction is correct
- Take your time and do it now, less headaches later
- These tiny sections of conveyor belts are the easiest to miss
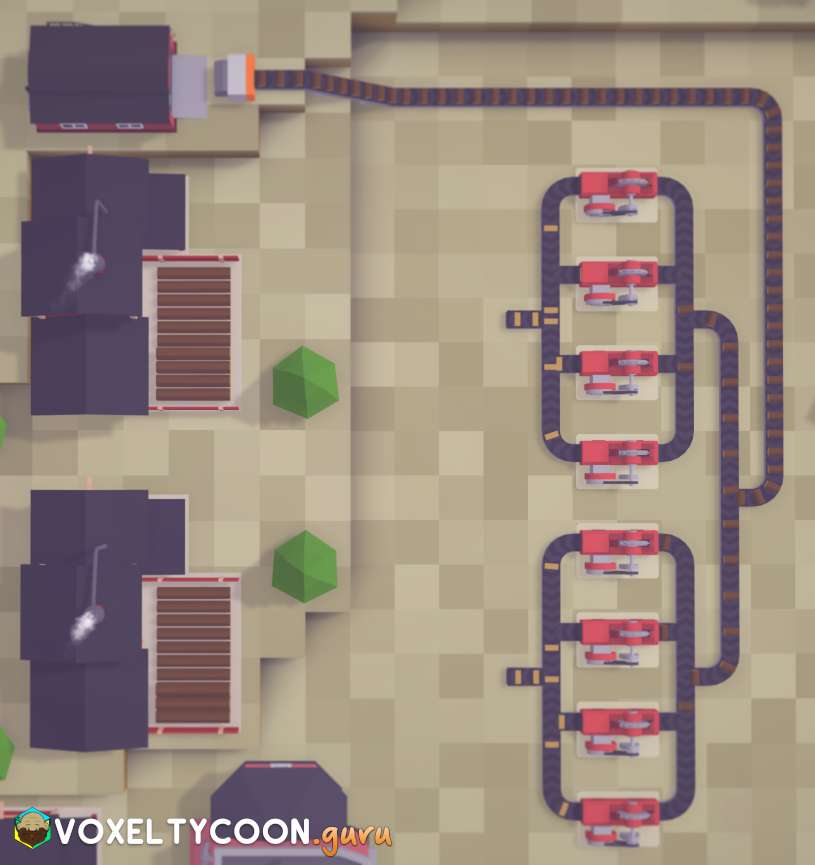
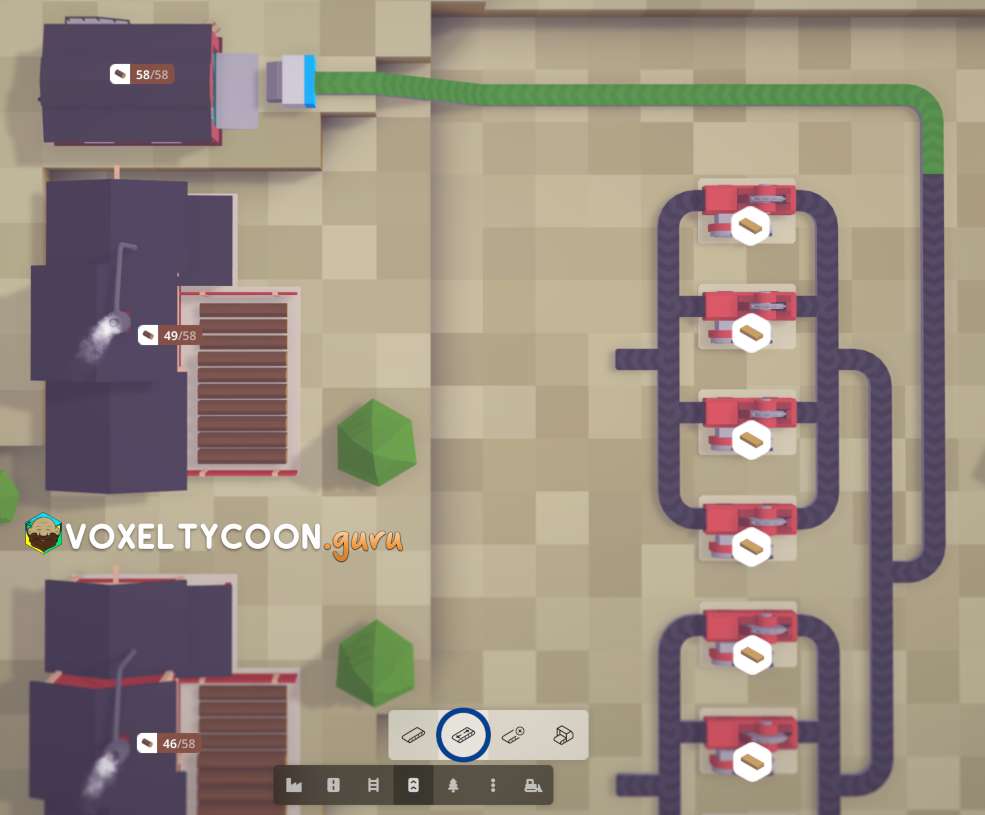
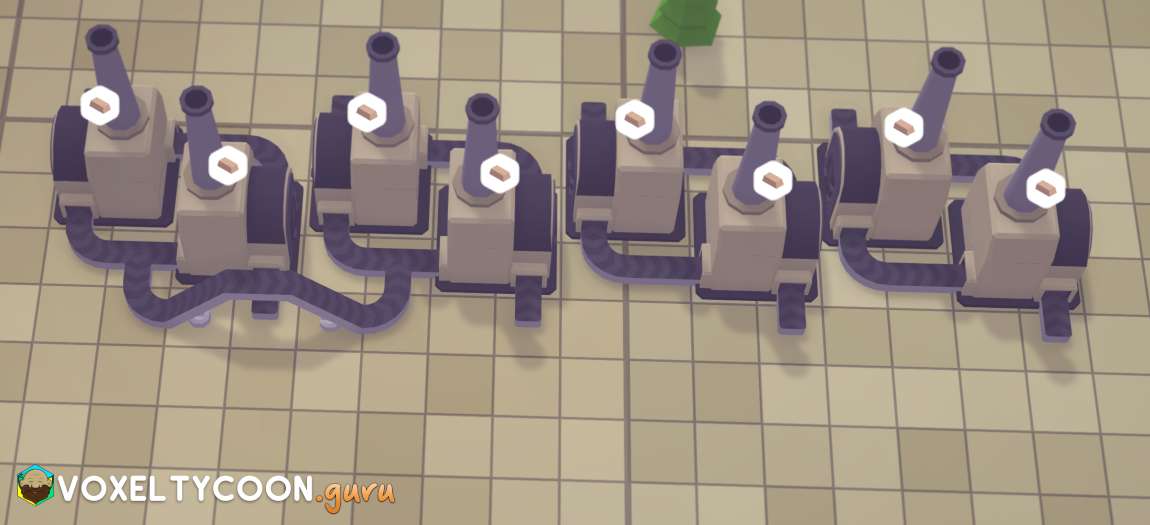
- After checking all the belts I resumed the game from pause and watched all the wood flow in and planks flow out
- This is a great way to find anything you forgot
- You can see from the screenshot it all looks to be working nicely
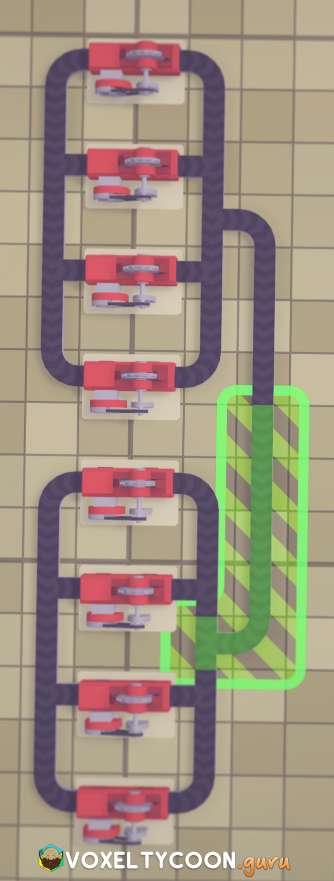
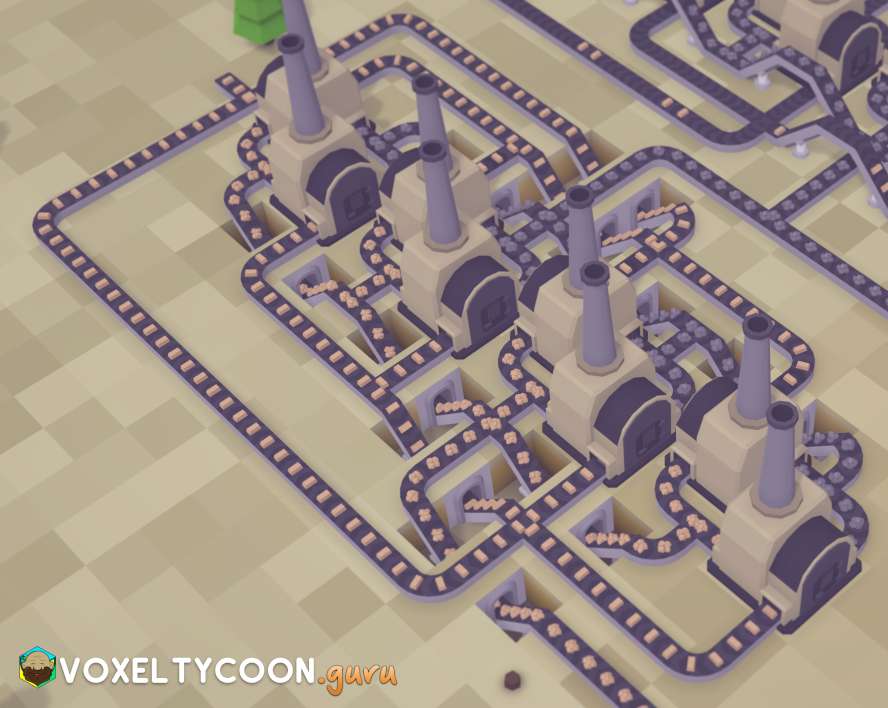
- The last step is to connect the saw output to warehouses
- Each set of 4 saws will send planks to a separate warehouse
- In the screenshot above, the warehouse is up higher, so I will use a bridge to run the conveyor belt up there
- I've also placed the connector on the warehouse
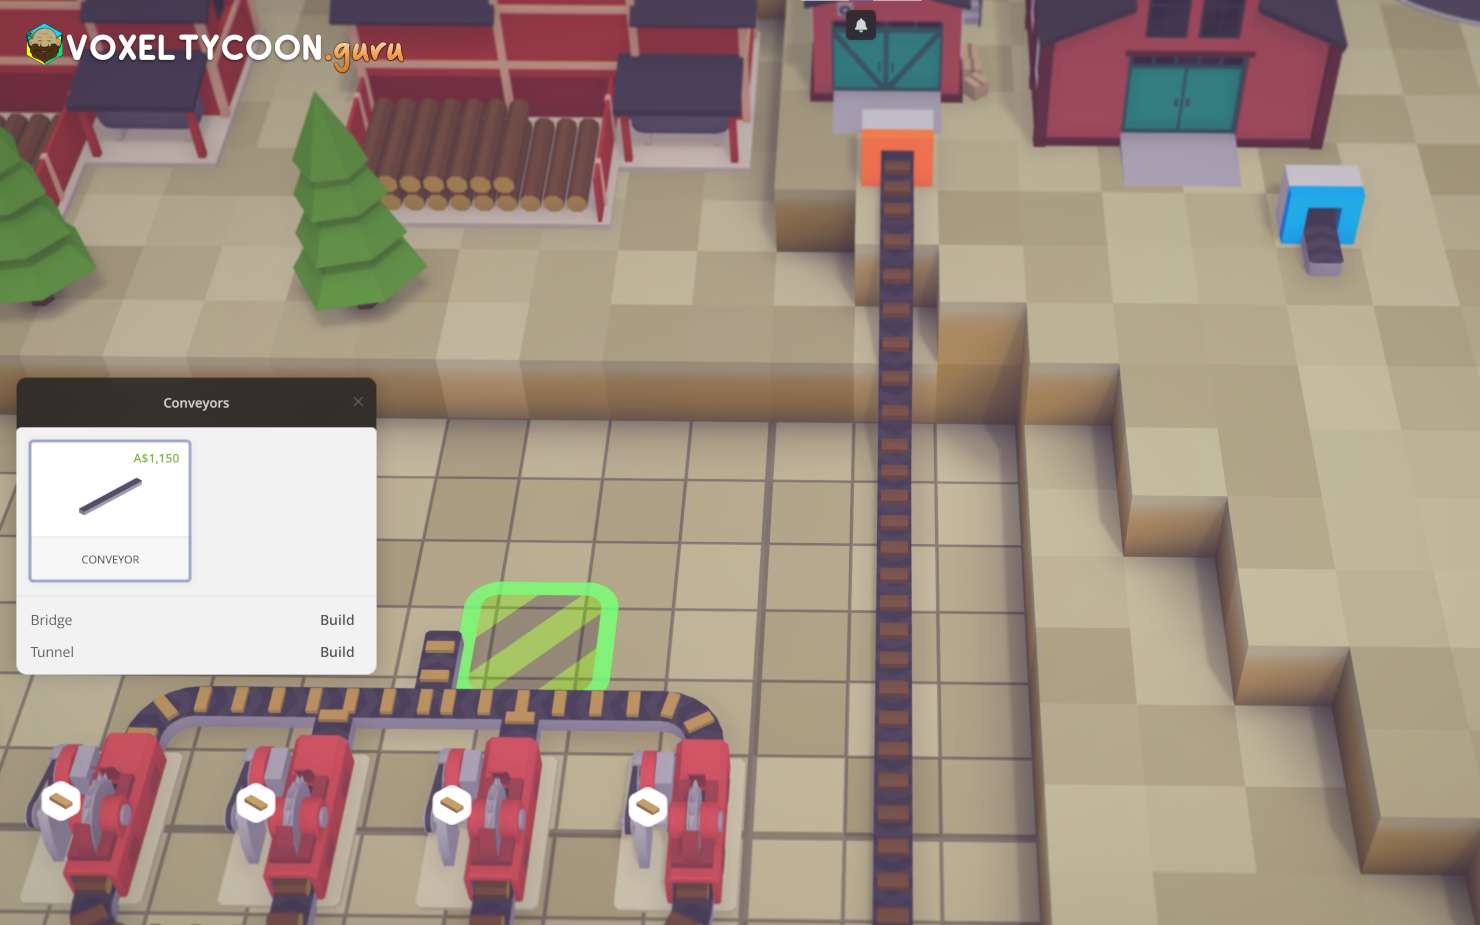
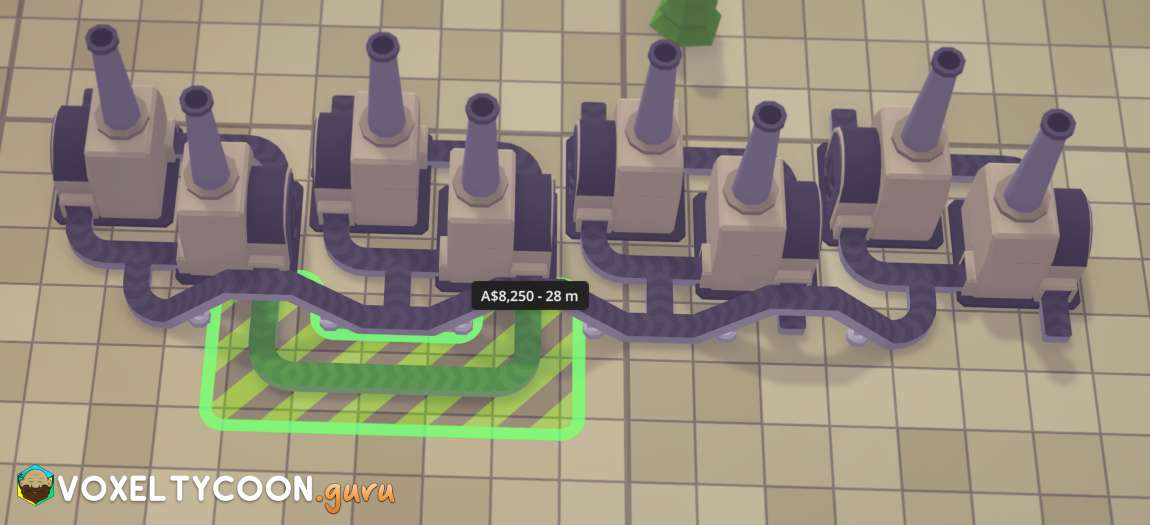
- Start off with the conveyor belt in the square shown and click once
- This allows for a tight corner
- No move the mouse one square across to the right
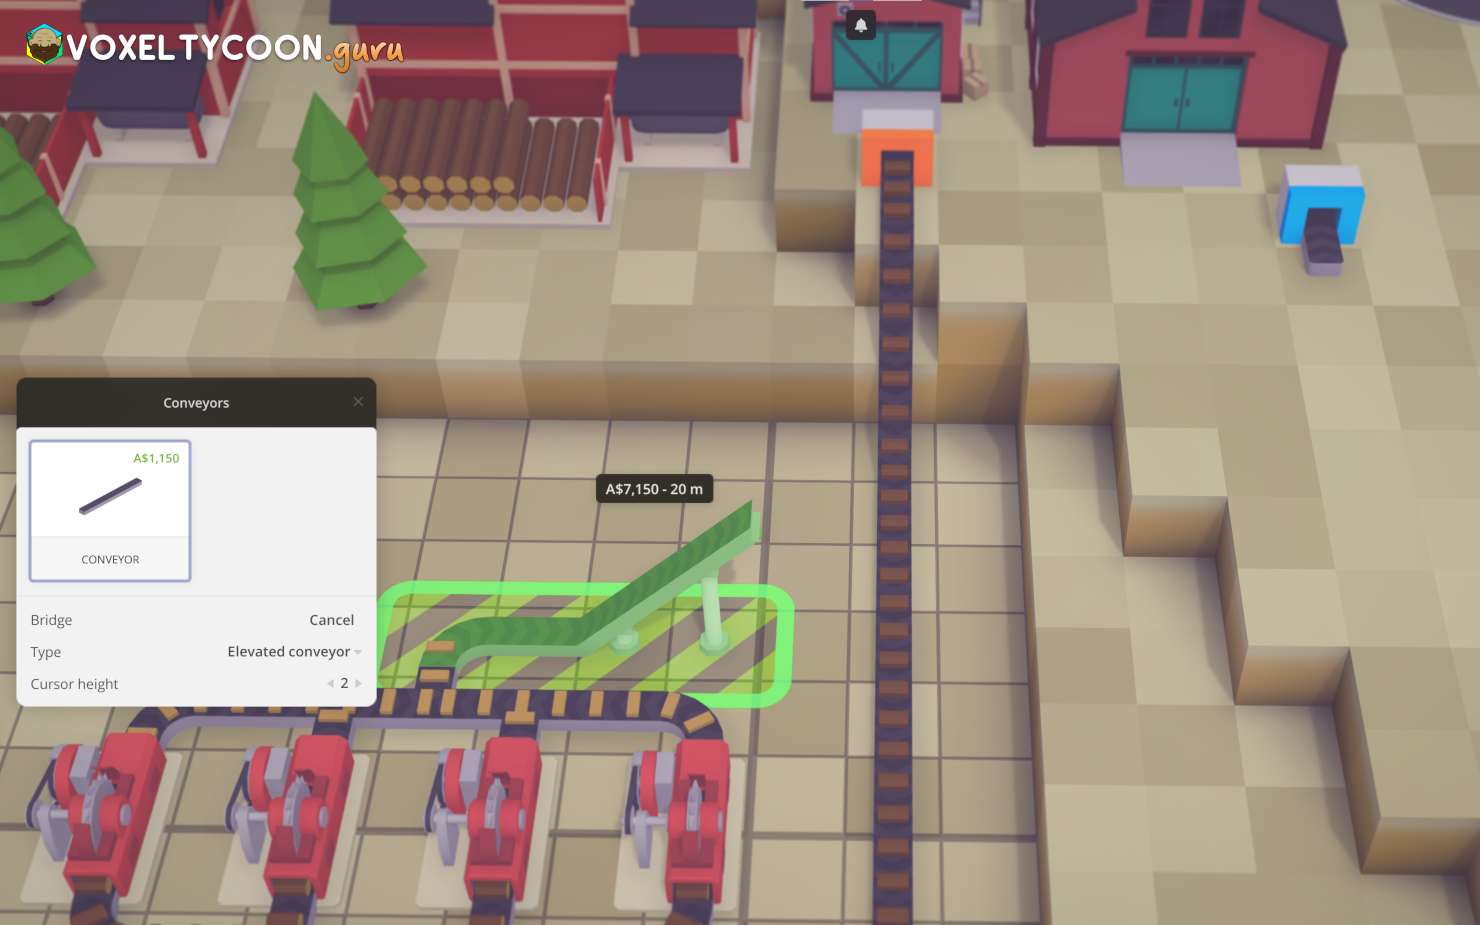
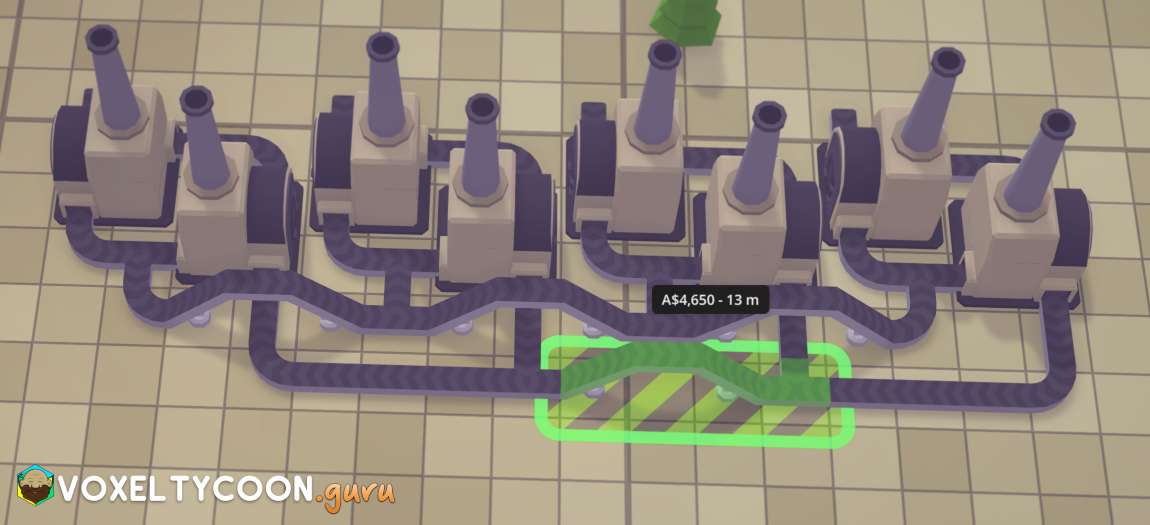
- To start the bridge press B
- You can also move the mouse over the Type field on the Conveyors window and click it to change it to bridge
- In this case I want my bridge to be 2 high, adjust the cursor height with X (increase)
- Click the mouse once to start the bridge
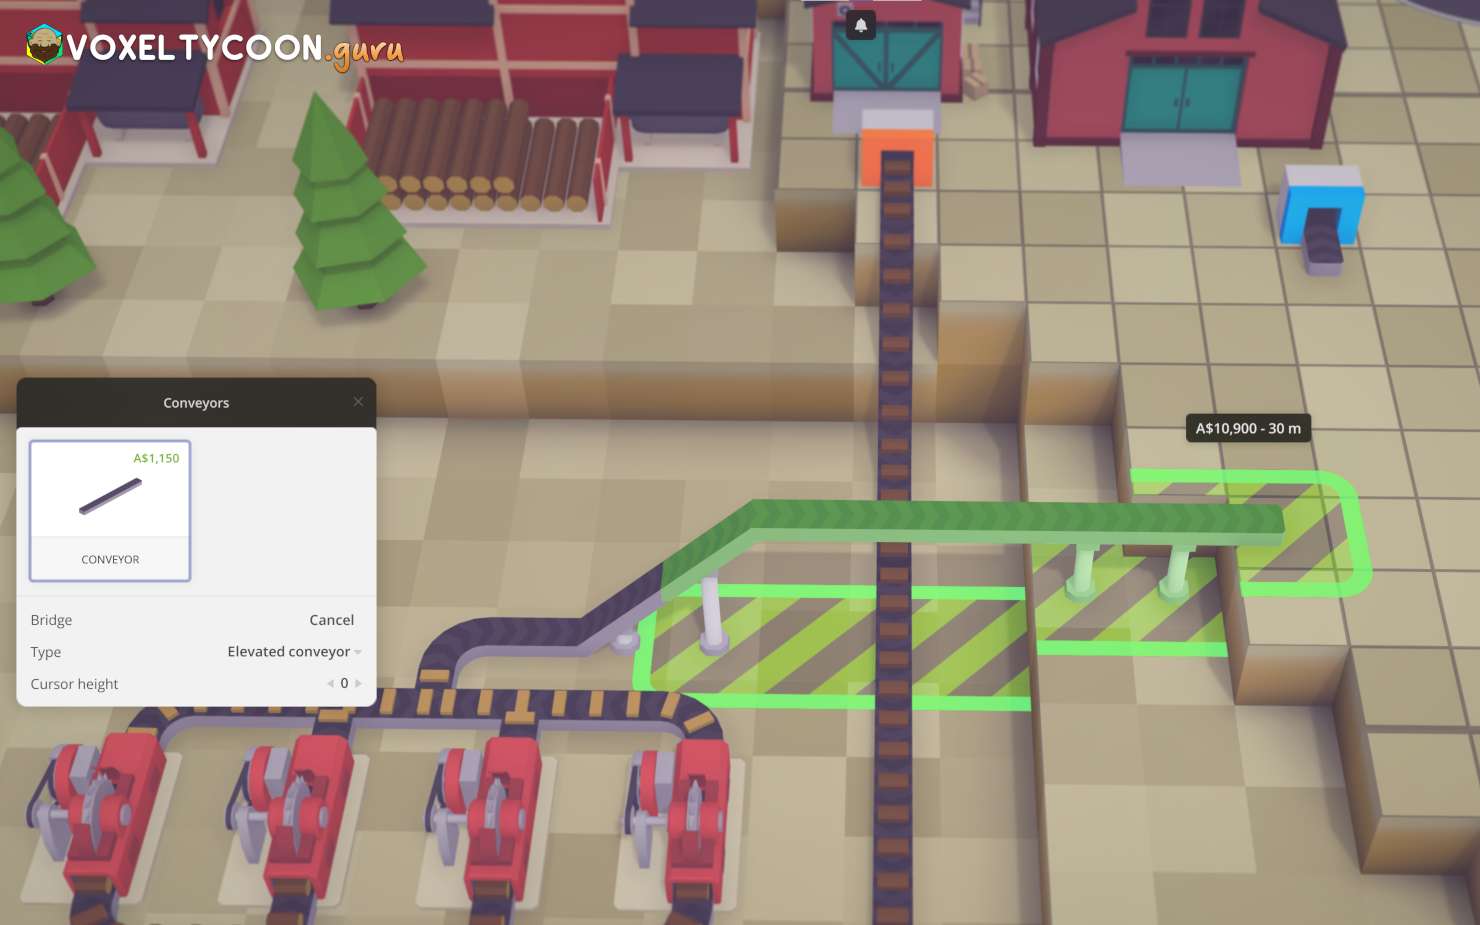
- Move the mouse to the right over to the level ground
- Click the mouse to complete the bridge
- Join the conveyor belt to the warehouse connector
- Make sure the conveyor belts are oriented correctly using the flip conveyor tool
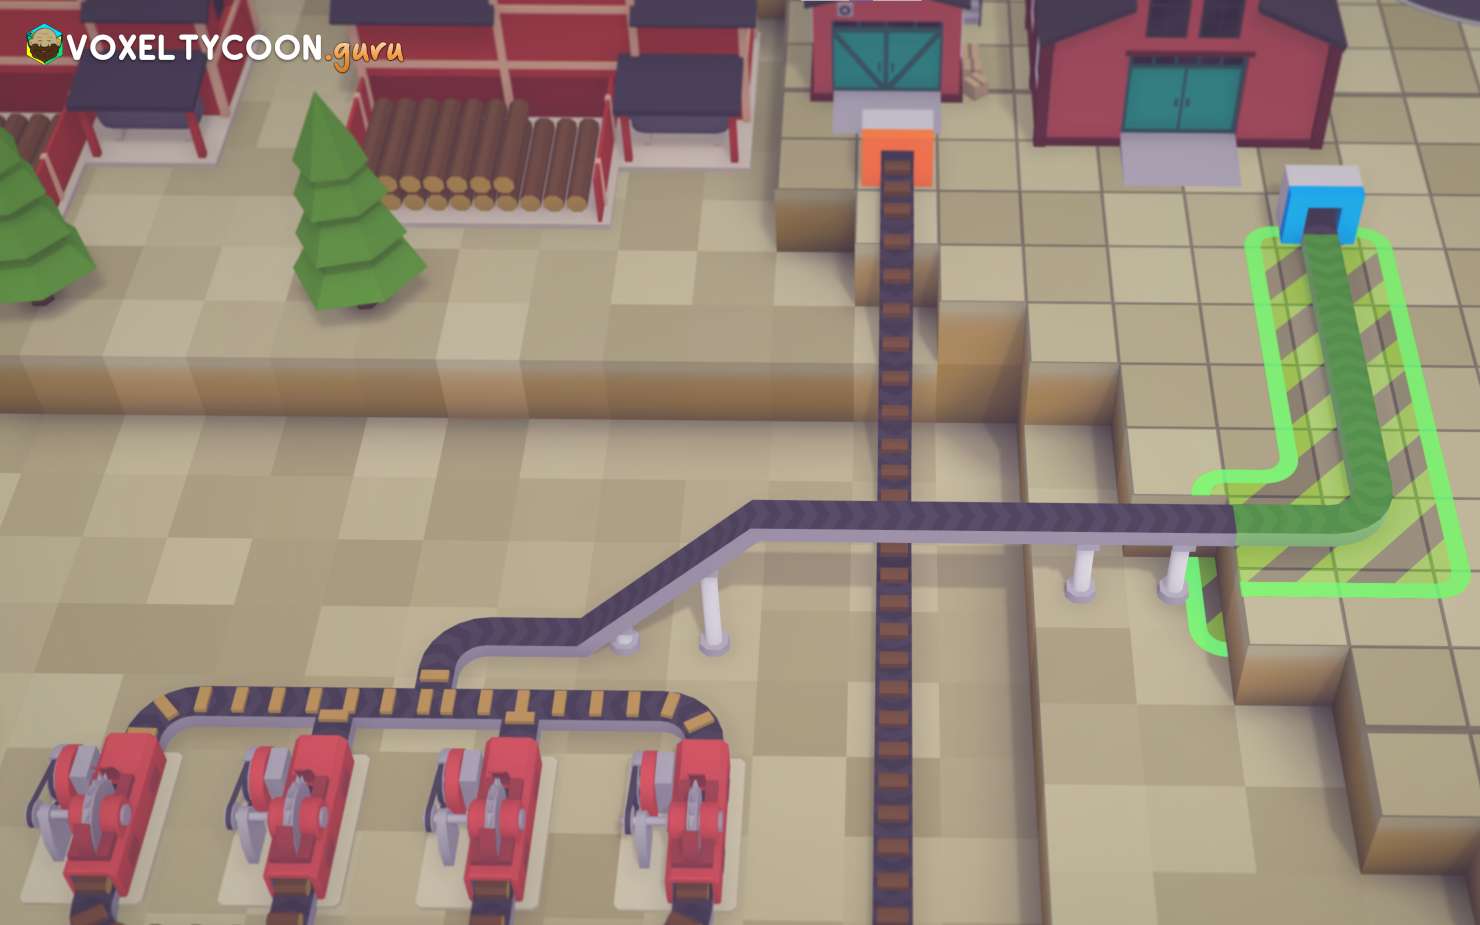
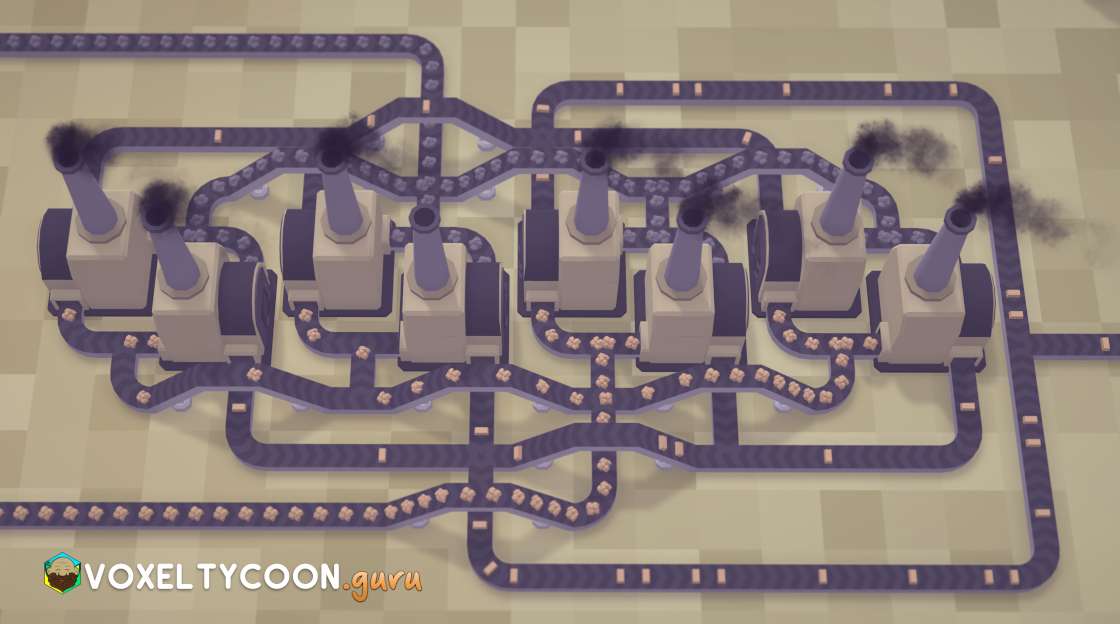
- Here you can see the completed build
- The second set of saws sent their planks to another warehouse next to the train station
- Hopefully this guide helped you learn all the basics for conveyor belts
So why did I build this the way I did?
- The 8 x saws relate to the maximum throughput a conveyor belt can have (75 p/m)
- Technically 8 saws require 80 wood p/m however I'm not that OCD to show how to supply 75 wood to 7.5 saws
- Each set of 4 will output 80 wood, so that will saturate one belt which I will use to fill a warehouse
- The small warehouse that supplies the wood relates to how much wood an sawmill can output
- The warehouse uses logistical connections to the surrounding miners, so under maximum load the warehouse would need to be in range of 5 sawmills
- Technically you could also connect five warehouses using conveyor connectors and belts together, but that is more complicated than needed
- Why did I split the input for the 8 x saws into 2 x 4? I mean wouldn't a long belt save more space and work the same?
- Yes, a manifold would work just as well
- I like the aesthetics of a load balanced build
Conveyor Belt Throughput, The Limiting Factor
At some point in the game you will notice that the amount of factories connected to a conveyor belt will either be starved or saturated and you'll wonder how to best manage this. A conveyor belt can transport 1.25 items per second, or 75 per minute. A lot of the information on this website will refer to per minute (pm) for the sake of simplicity.
Lets use a mine to demonstrate the belt speed. A mine has an internal storage buffer of 58 items and will fill this buffer at a rate of 15 pm. If you connect a conveyor belt directly to a mine, it will appear to be outputting at a rate of 75 pm as the belt will be saturated. When you observe the mine's storage you'll notice it being depleted faster than it can be replenished. Eventually you'll notice the items on the conveyor belt come out at a slower rate, this is the true output rate of the mine.
Maximizing Belt Throughput
Factories are machines that require conveyor belts to be connected to them to transport items to the input and outputs. If you connected a conveyor belt directly to a mine then the maximum throughput you'll get from that sawmill is 15 pm. Connected to circular saws to create planks, the most amount of circular saws you can connect is 1.5 as wood planks require an input of 10 wood pm.
To maximize the conveyor belt with 75 wood pm you need to connect 5 sawmills to your conveyor belt feeding the circular saws, now you can connect 7.5 circular saws to that one conveyor belt. However a better solution is to use a warehouse. A warehouse, when placed in the vicinity of mines, will use the automatic logistic connection. This allows the warehouse to be filled with items from the mines it the vicinity of it's reach, filling it quickly.
Connecting a conveyor belt to that warehouse allows you to supply 7.5 circular saws with enough wood and maximize the throughput of the conveyor belt. 7.5 you say? Obviously you cannot connect 0.5 circular saw however to achieve this you can connect 2 x sets of conveyor belts to 14 circular saws and then the tail each of each conveyor belt can join to feed one last circular saw.
Multiple Input Example
- The following build example shows one method for Alloy Smelters
- These machines have two inputs and one output, so working out how to route all the conveyors can be a puzzle
- Start off by placing an Alloy Smelter and then another one rotated 180°
- This allows the conveyor belts to connect together on two sides of the machine
- Create a small conveyor belt outwards from the two ports facing each other
- Press Escape / Right Mouse Button to stop building the conveyor belt
- Start another conveyor belt between the two parallel belts by clicking the mouse
- While in conveyor belt creation mode move the mouse to the right
- DON'T click the mouse button
- Press B to start building a bridge
- Click the mouse button to place the first half of the bridge

- Move the mouse cursor to the right
- Click the mouse button to finish the second half of the bridge
- Join the conveyor belt where the two ports face each other
- Here you can see the finished bridge
- Click the bend of the conveyor belt to continue the conveyor belt
- Move the mouse to the right and then press B to stat building bridge
- Repeat the steps from above along the line of alloy smelters
- Now it's time to connect the other set of alloy smelter ports
- Start another conveyor belt from the port under the bridge
- Connect this belt to the port on the other machine
- Repeat this step for the other two machines so you have two separate sections
- Click the bend of the conveyor belt to continue the conveyor belt
- Press B to stat building bridge
- Complete the bridge by joining it to the other section
- Create a belt that passes under the bridge
- You now have:
- A belt that is connected to the inner belt section (right belt highlighted), this will be used for incoming iron ore
- A belt that is connected to the otuer belt section (left hand belt), this will be used for output iron bars
- Here you can see the finished build
- Iron ore and coal feed into the inner belt section
- The output belts join together and head off to a warehouse
- Using these building techniques you can create quite compact builds
- Tunnels can be used in a similar fashion
- Press T to enter tunnel mode