Overview
This is a 4 Way Intersection taken from https://imgur.com/a/Hcsc41w and is inspired by Fenderson#7615 on Discord. Below you will find detailed steps to build the left hand variation of this intersection and then following that is the screenshots for the right hand variant.
Left Hand Variant
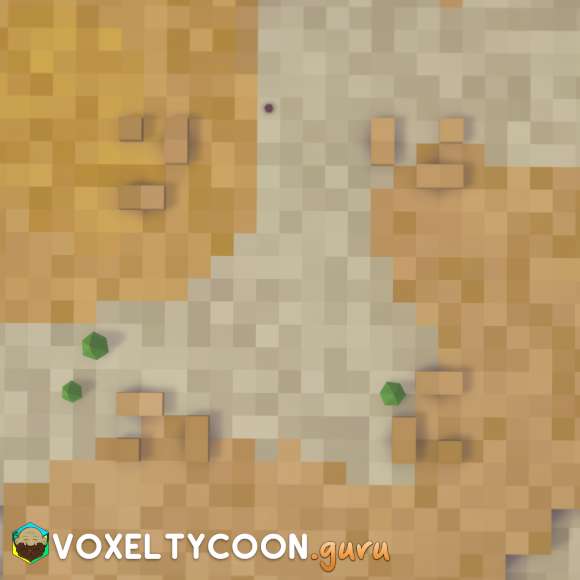
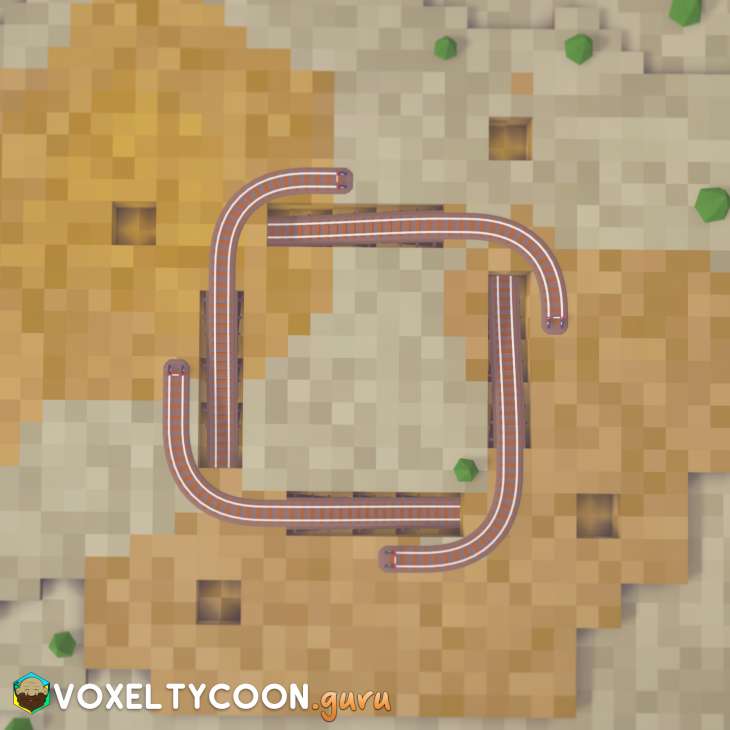
Step 1: Place Positional Markers
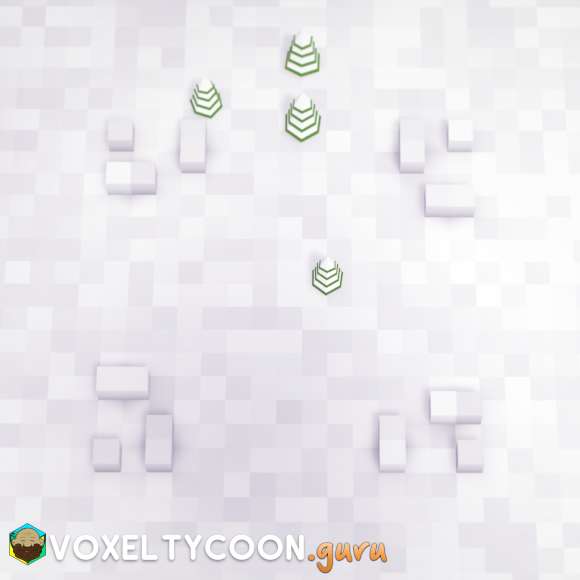
- This begins with a 15 x 15 grid, this is the four corner markers
- Then place 1x2 markers in each corner, looking at the top left corner leave a gap of 1 down and a gap of 2 right
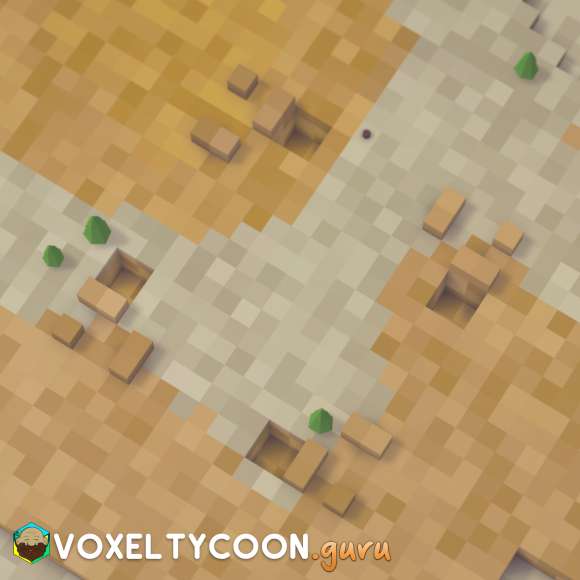
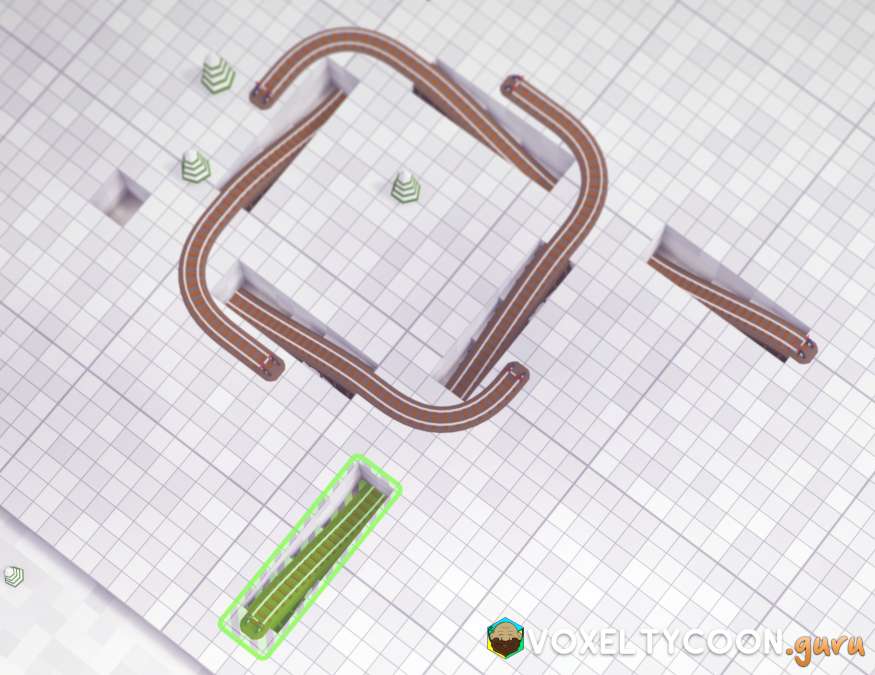
Step 2: Lower Terrain
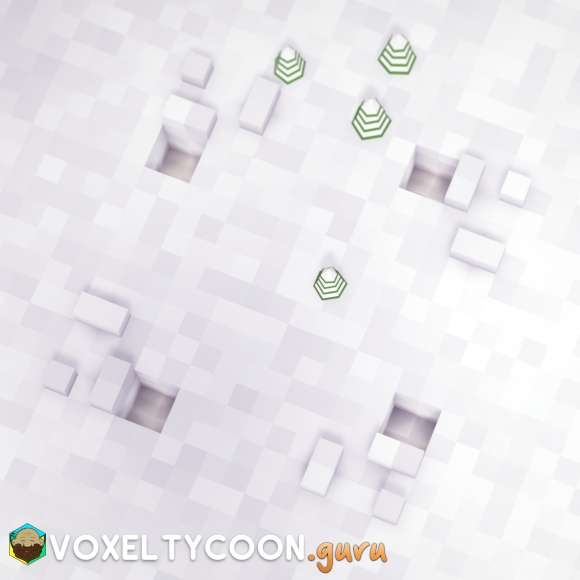
- Lower the terrain 2x2 for a depth of 3, looking at the top left corner this is under the 1x2 marker which was 1 down
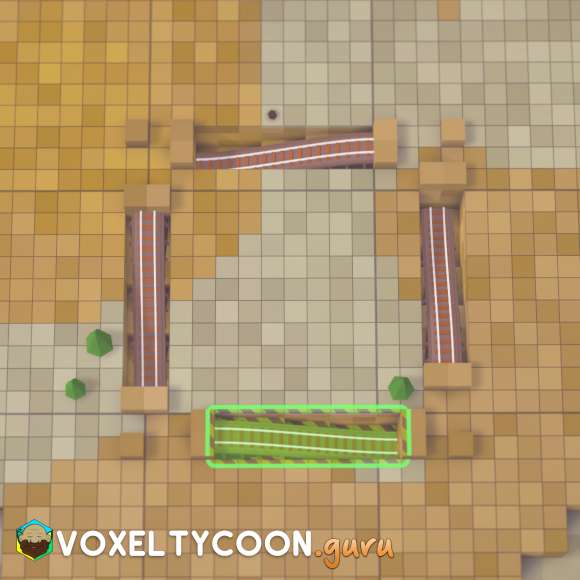
Step 3: Place Rail Ramps
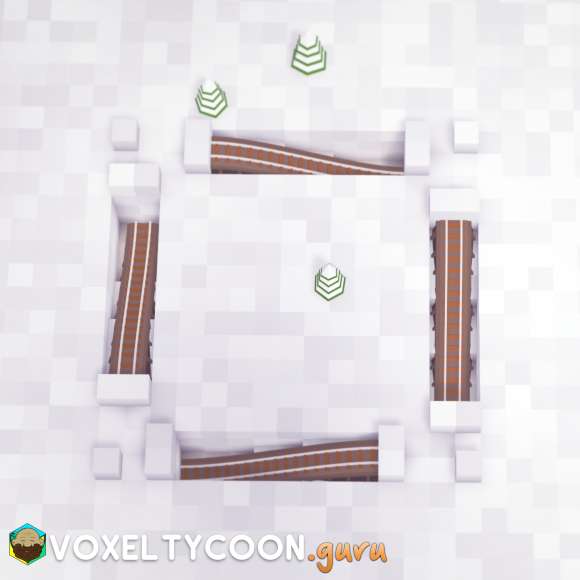
- Use the Lay rails tool and start from the bottom 2x2 hole and bring it up to the 1x2 positional marker opposite
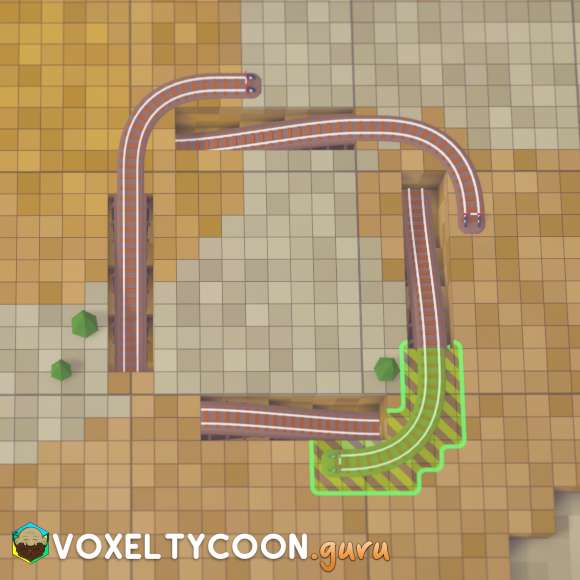
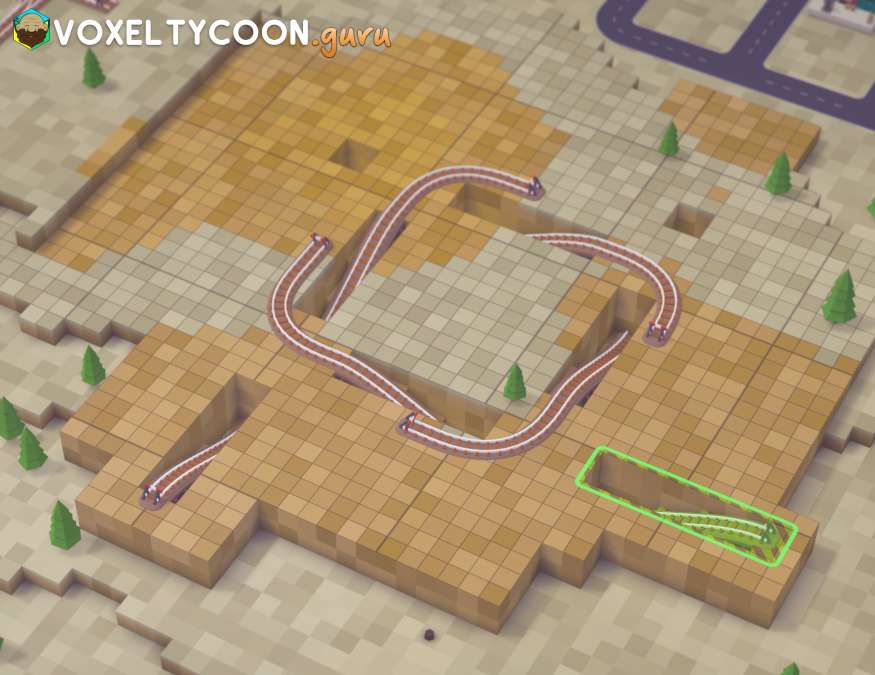
Step 4: Inner Rail Corner
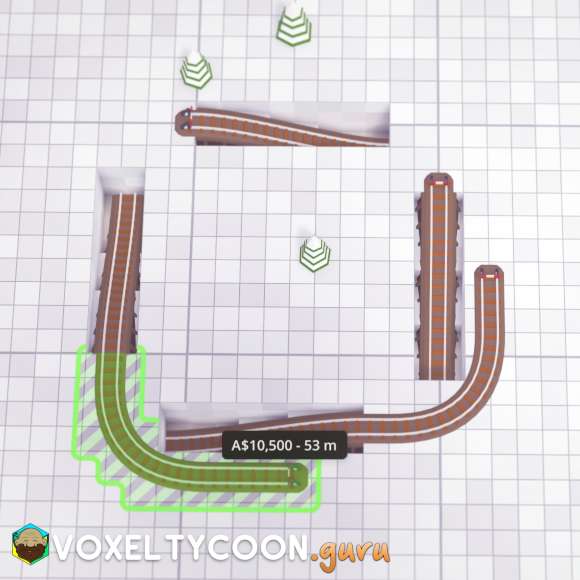
- Remove the positional markers as they are no longer required
- In the screenshot I am bringing the rail to the right and then parallel to the next rail ramp
- You may need to build a small section of rail at top of each ramp first, you can see the ones without the corners had this added after removing the positional markers
Step 5: Lower Terrain

- Lower the terrain 2x2 for a depth of 3, leaving a gap of 5 between the existing hole and new hole
Step 6: Place Rail Ramps
- Lay rail from the bottom 2x2 hole and bring it up to the ground level
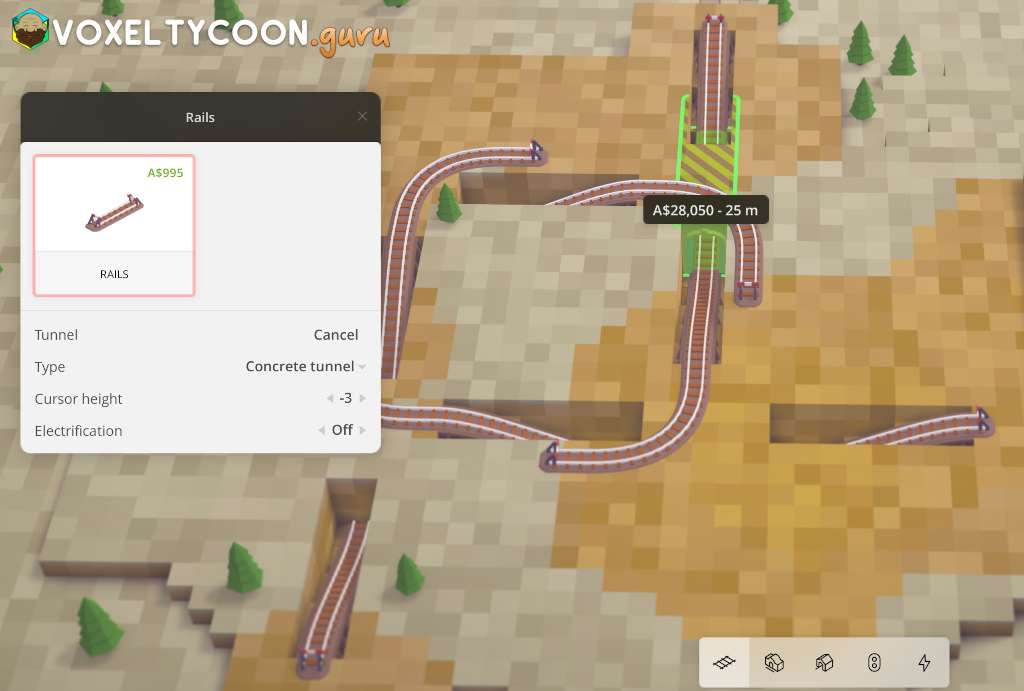
Step 7: Create Tunnels
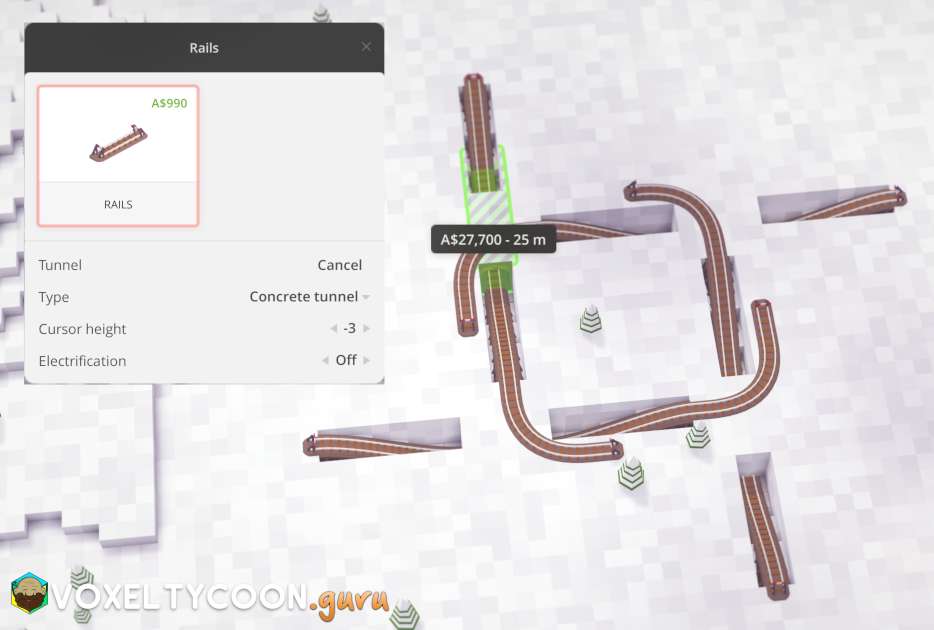
- Now it's time to connect a tunnel between the two low sections of the ramps, between the 2x5 gap
- Using the Lay rails tool, start off by clicking the rail at one side and then press the T key to change to tunnel mode
- Move the cursor to the section of the rail on the other side of the 2x5 gap a tunnel will appear (no need to adjust cursor height)
- Click the mouse to create the tunnel
- The screenshot below shows the tunnels created

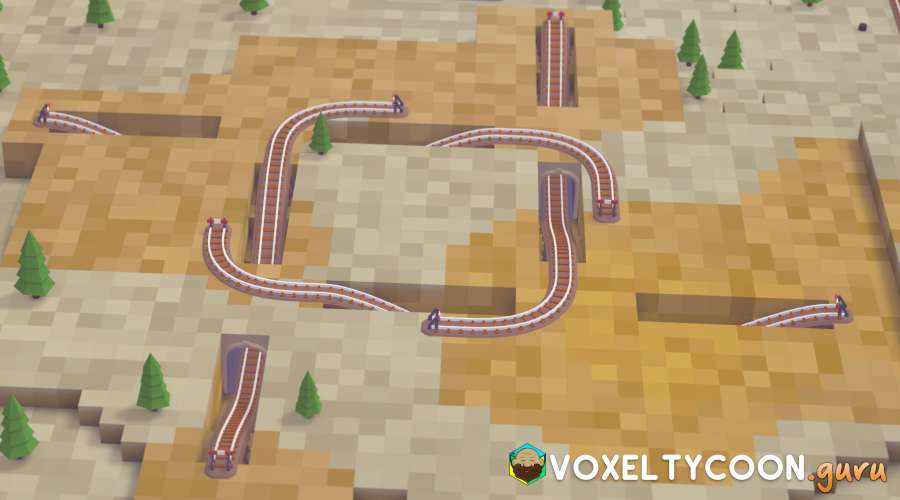
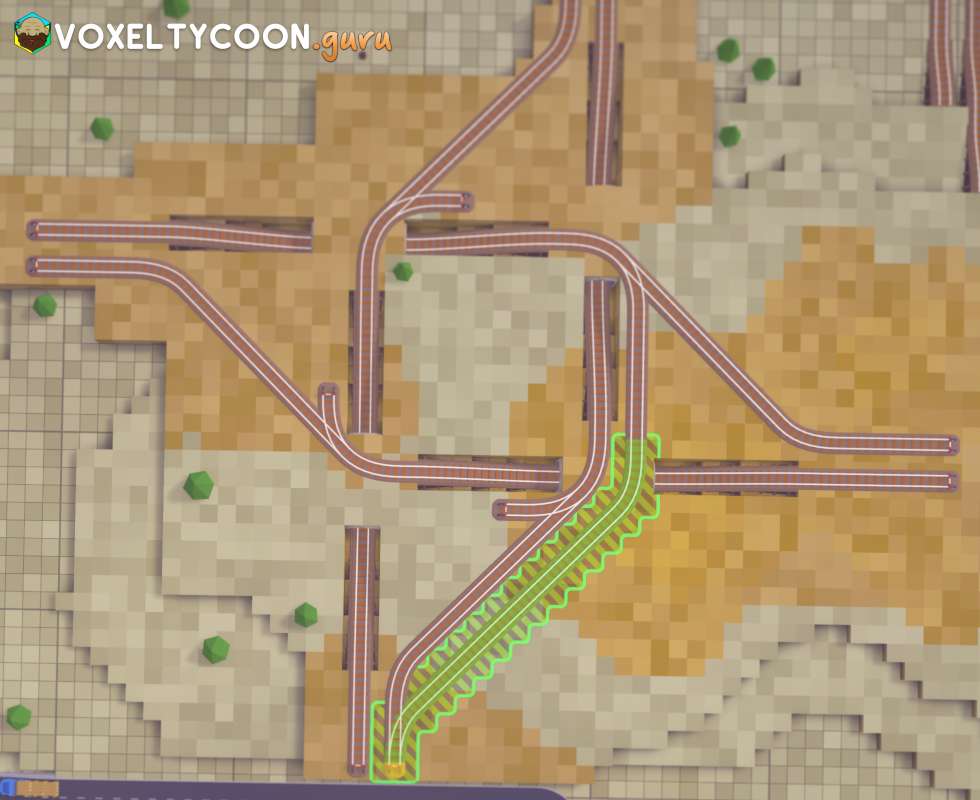
Step 8: Build Inner Rails
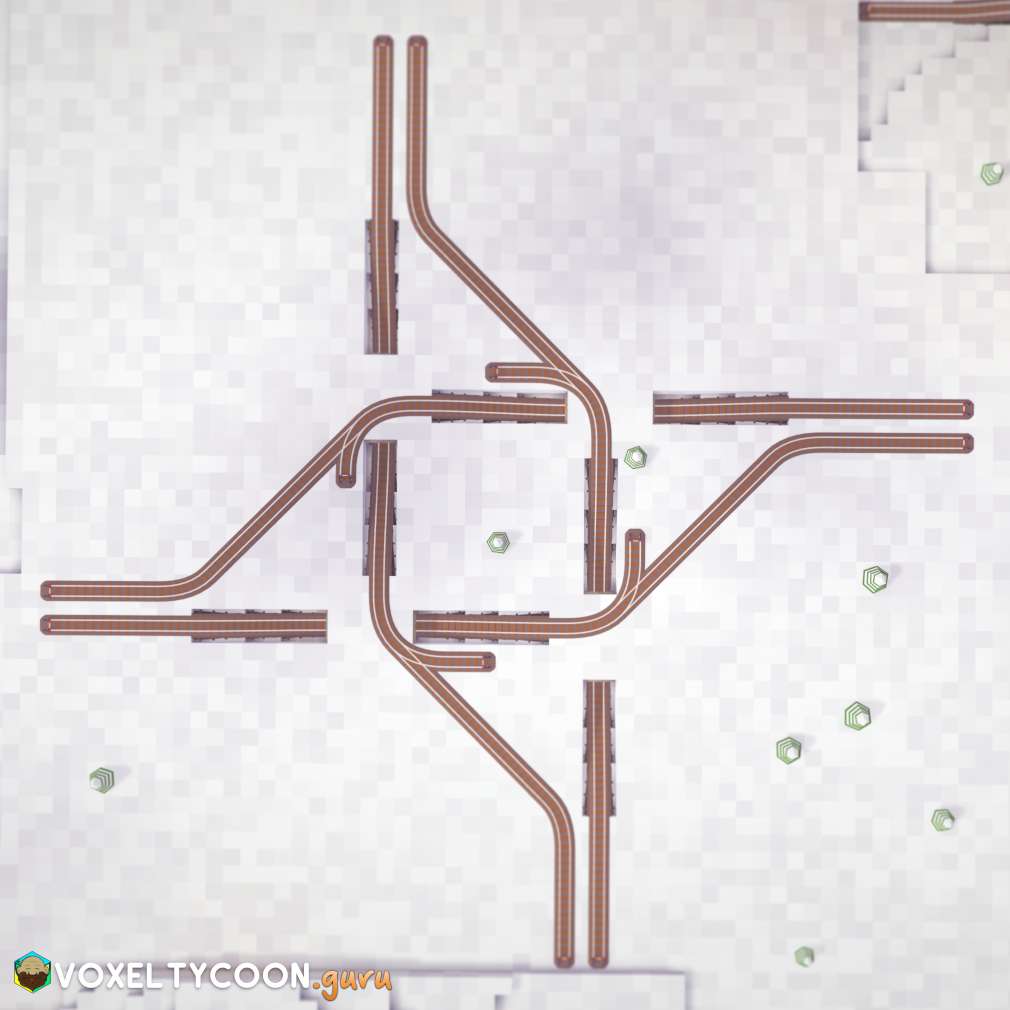
- Extend the rails from the outer ramps outwards and also place a parallel section of ramp next to it
- Looking at the top left inner curve, from 45° connect rail down to the left top rail
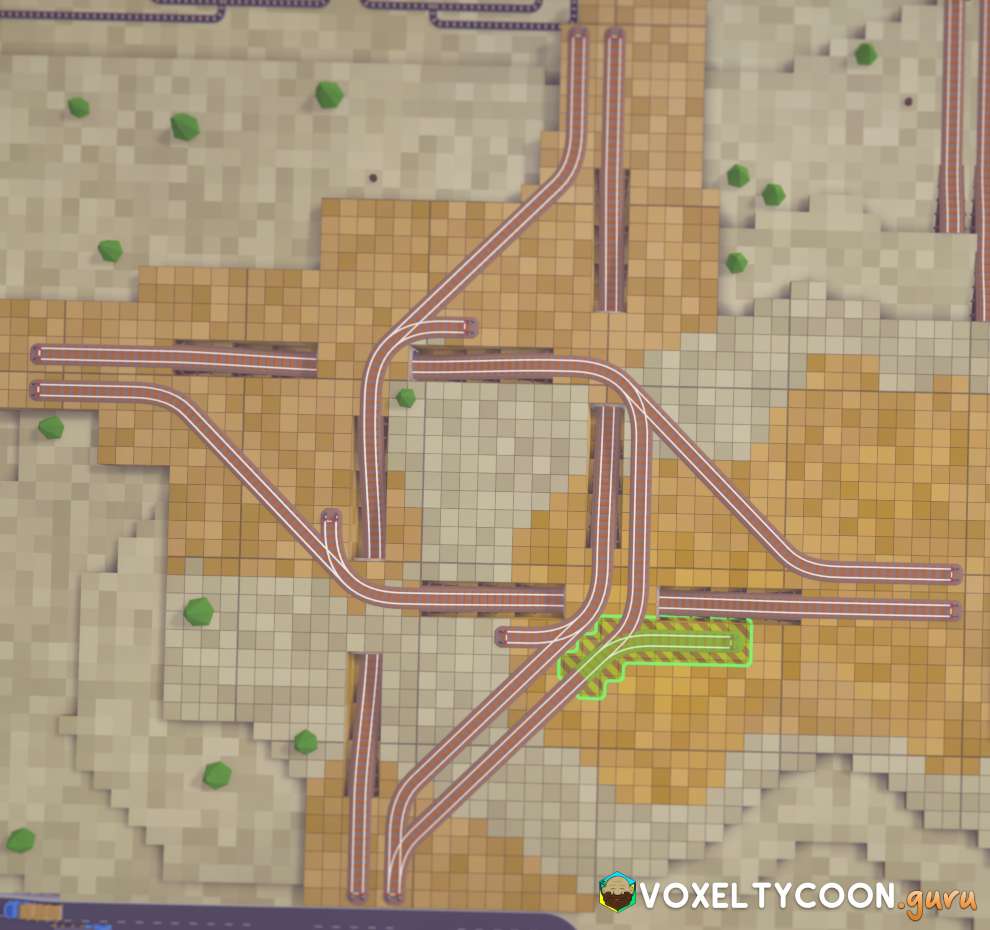
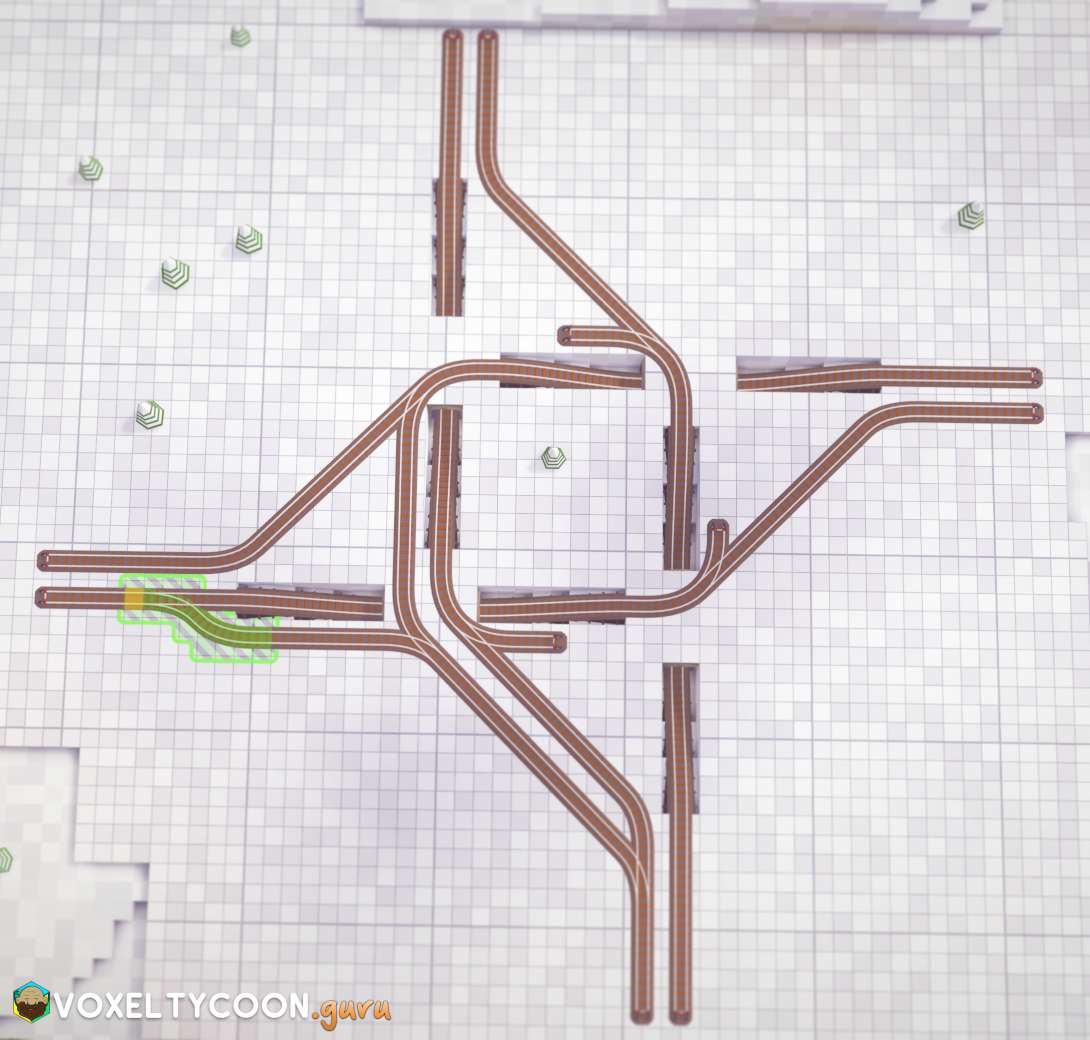
Step 9: Build Outer Rails
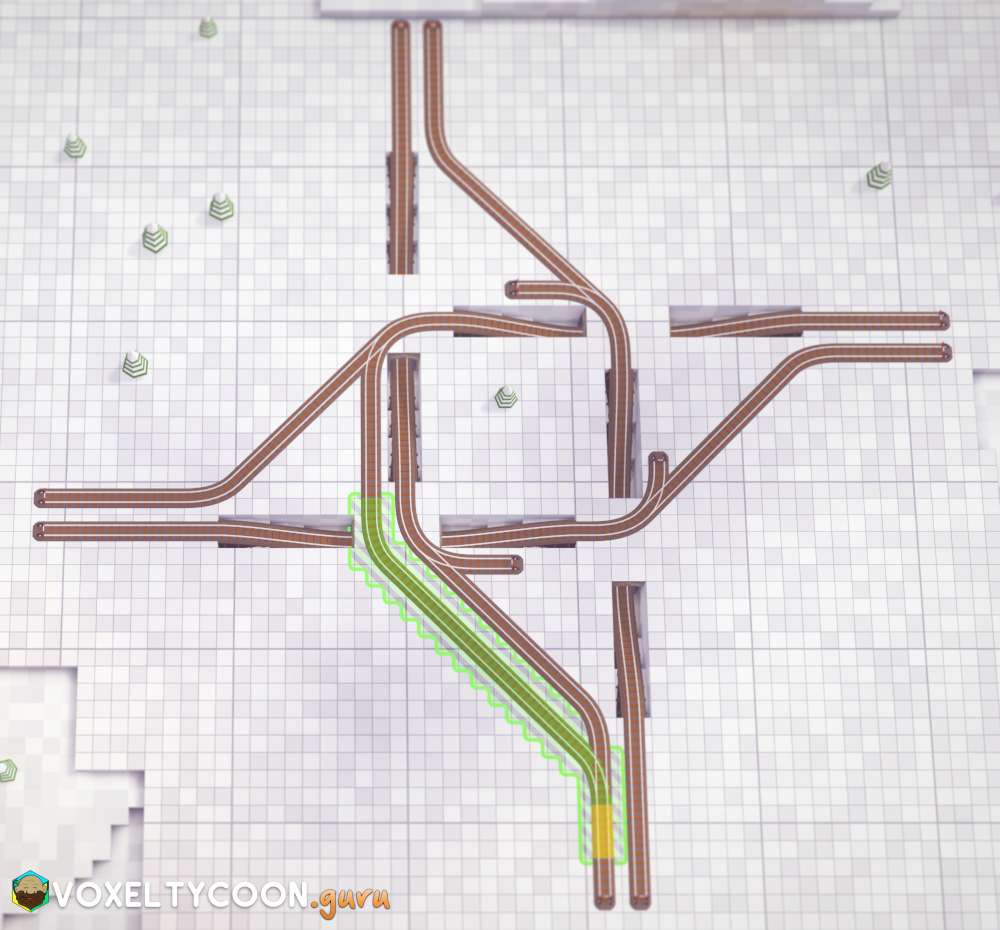
- Connect a rail section from the inner curve section to the outer rail
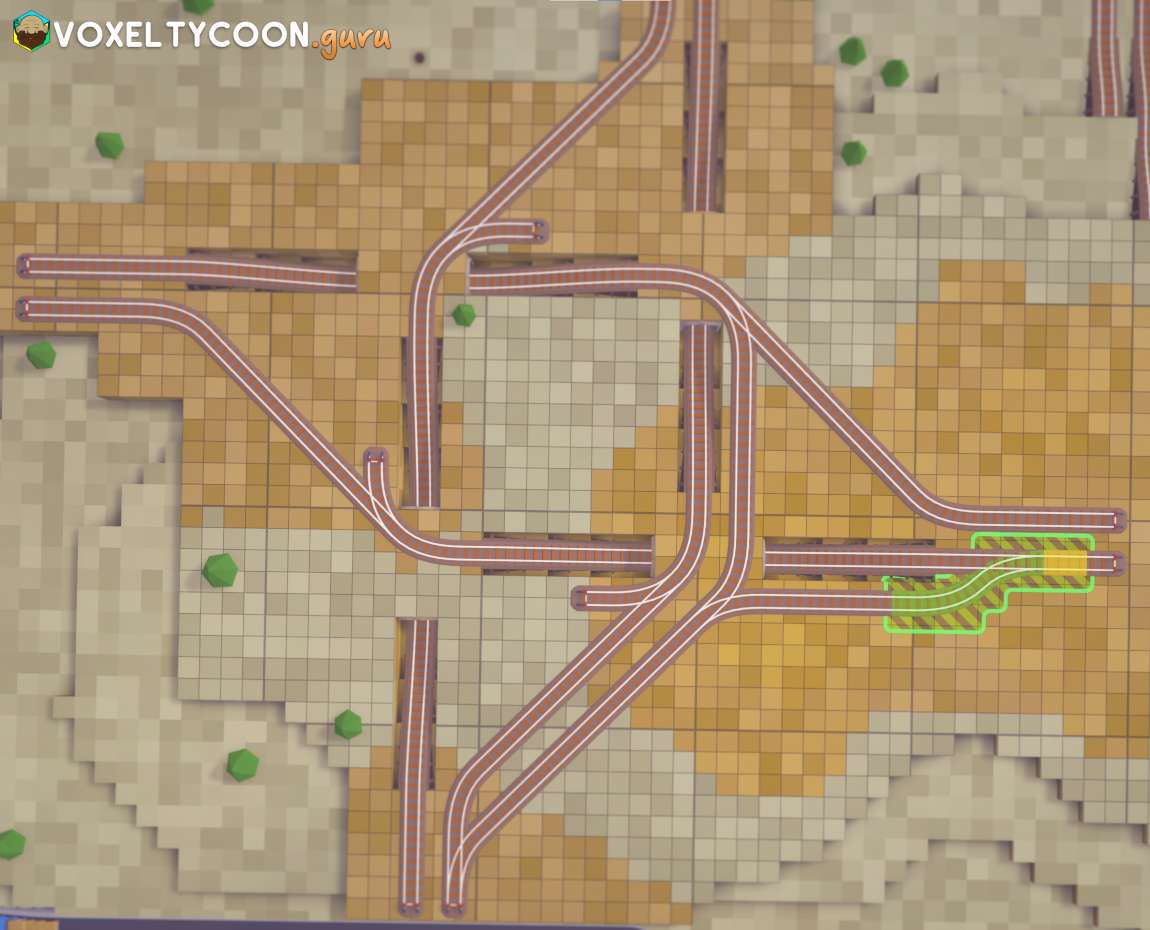
Step 10: Build Outer Rails
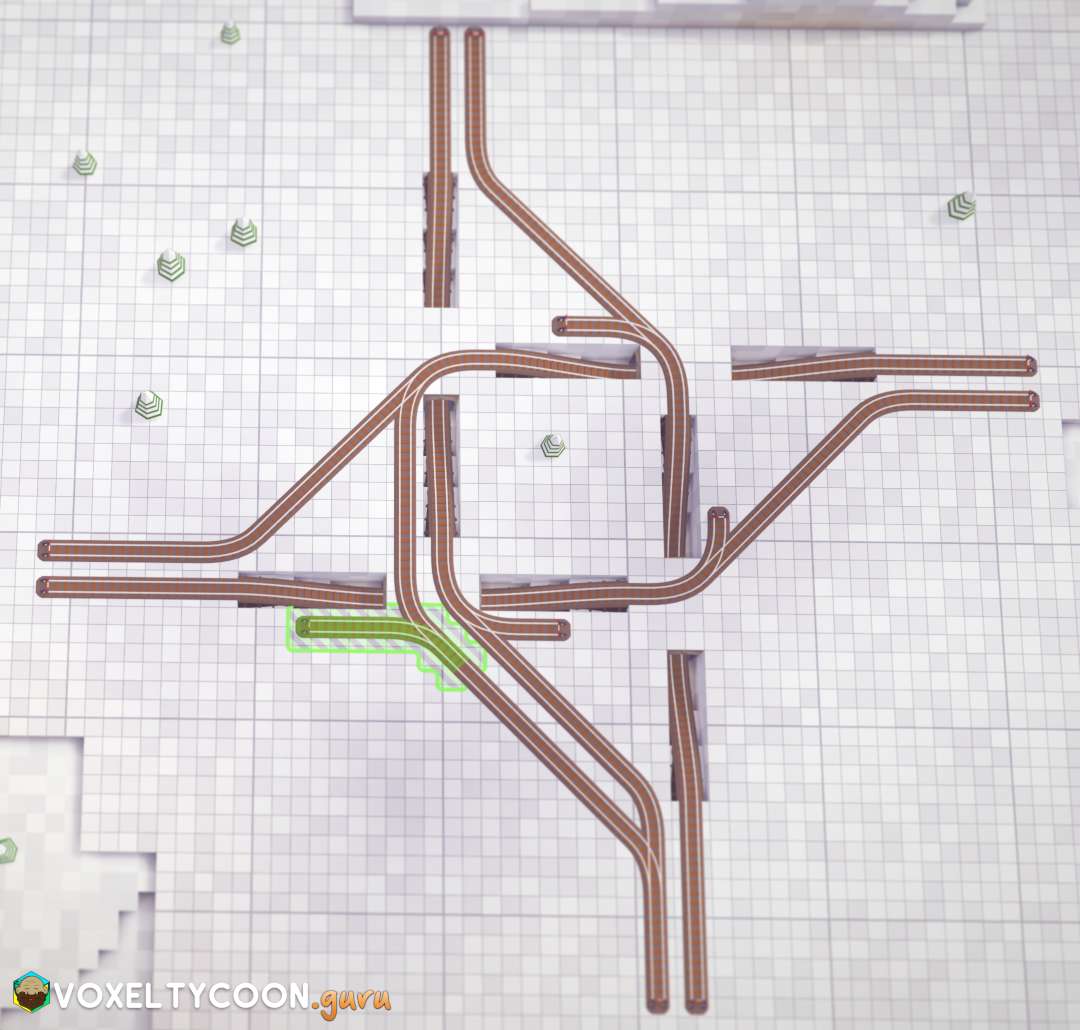
- On the 45° curve of the new long rail, place rail parallel to the exit ramp
- Connect this to the exit rail of the ramp
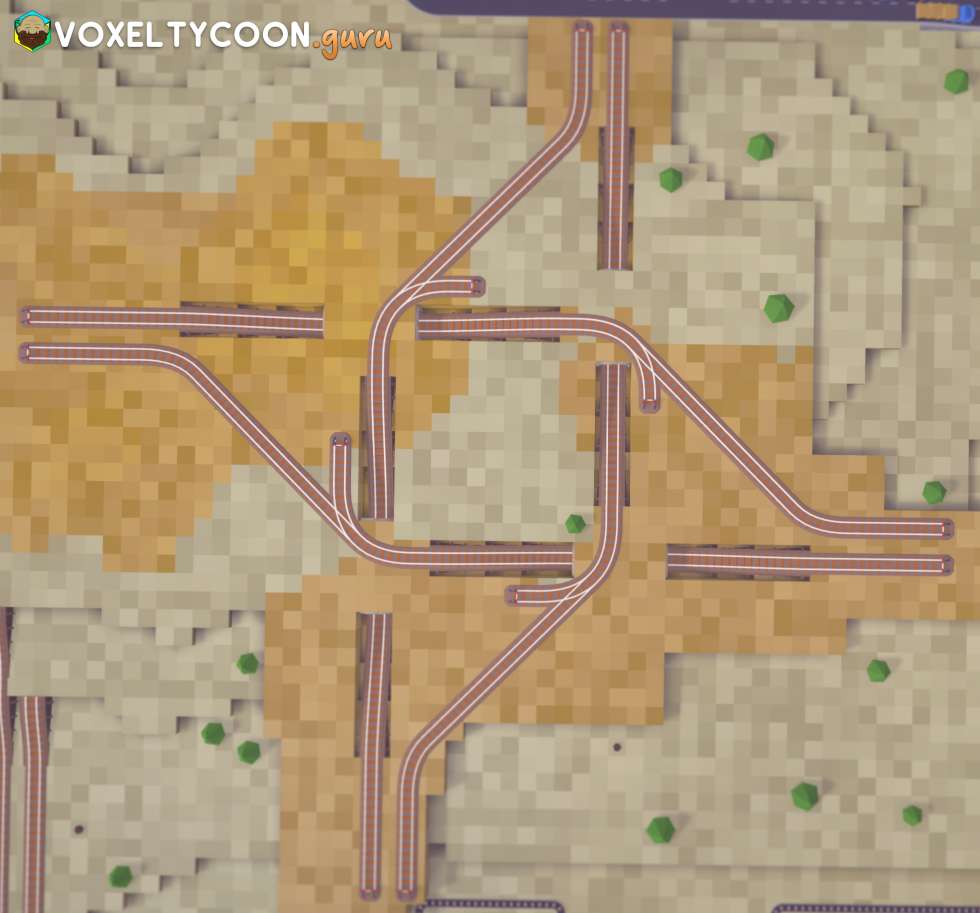
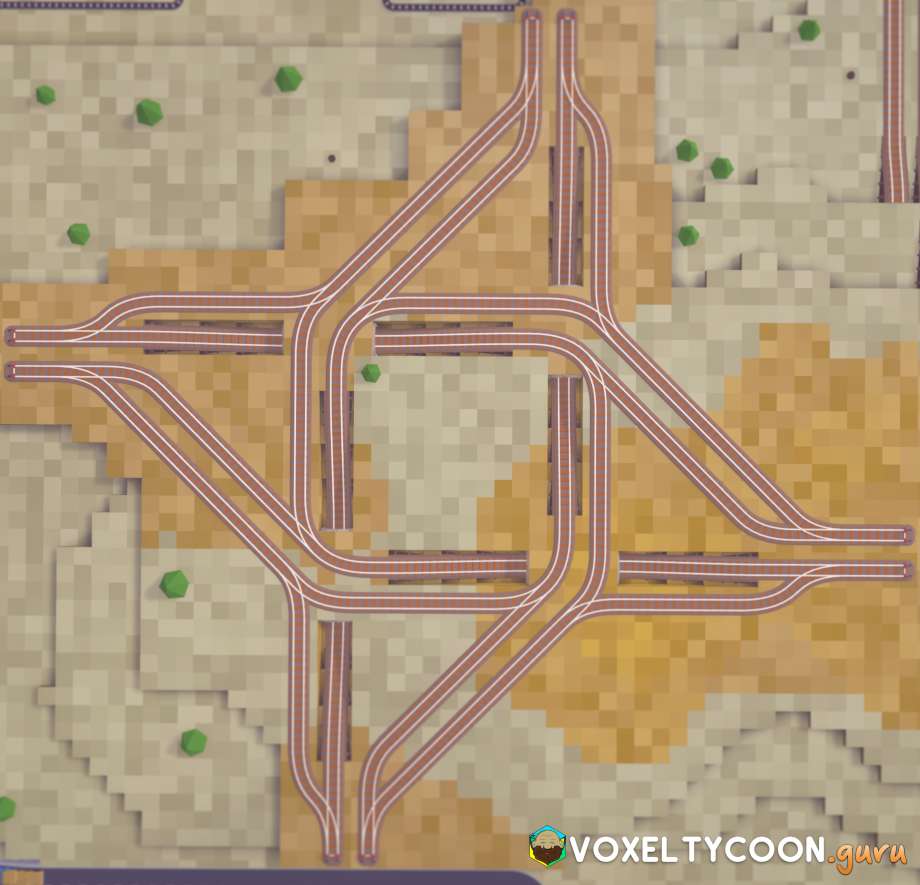
Completed Intersection
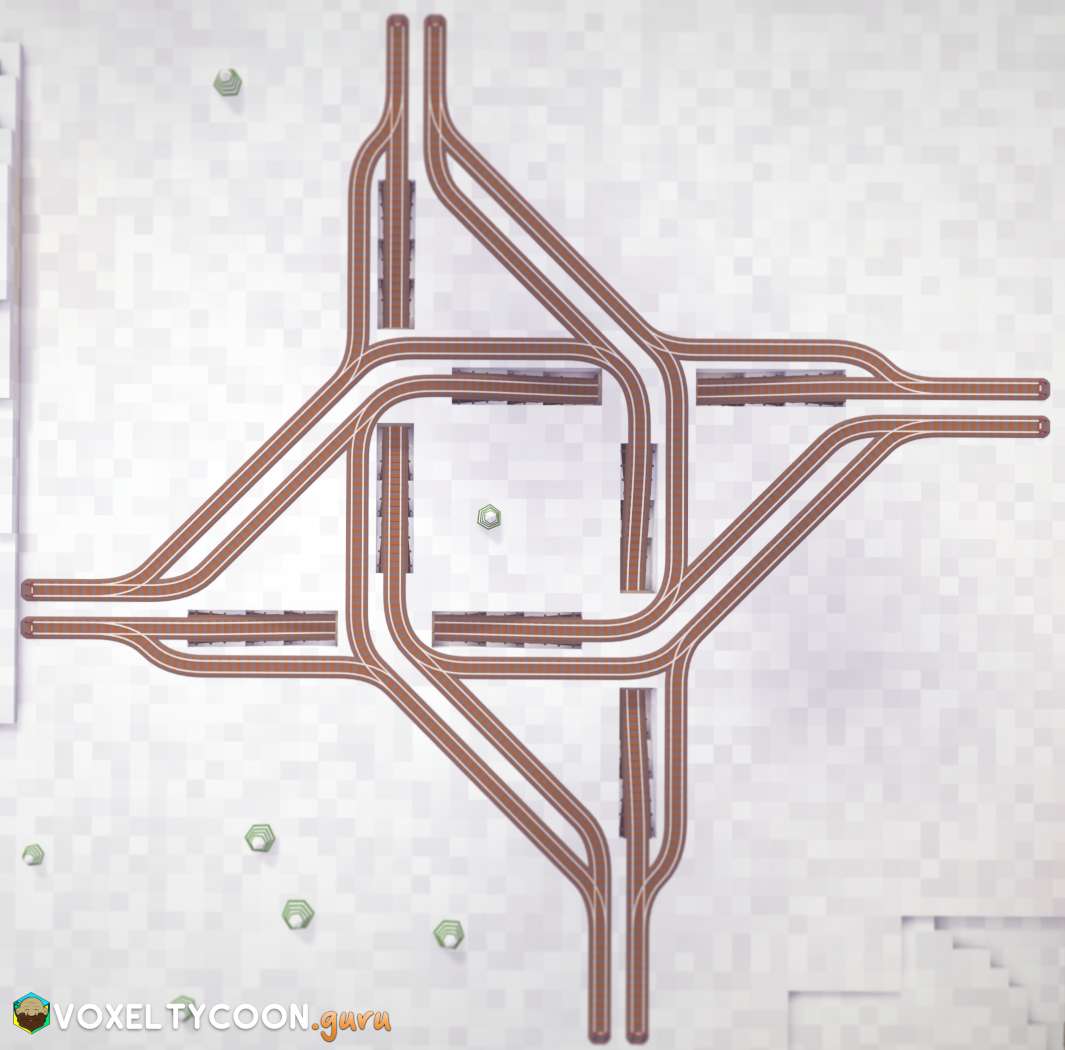
- Here you can see the intersection completed
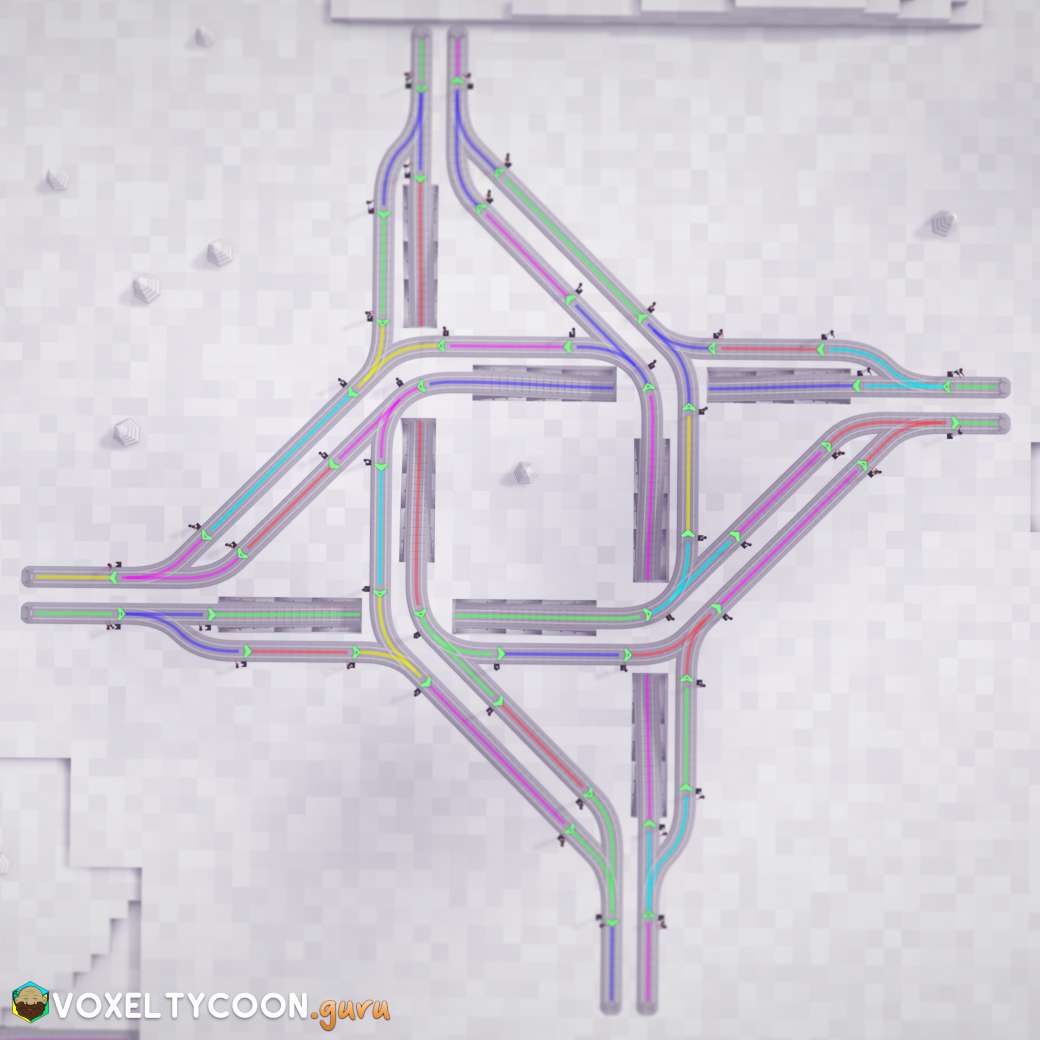
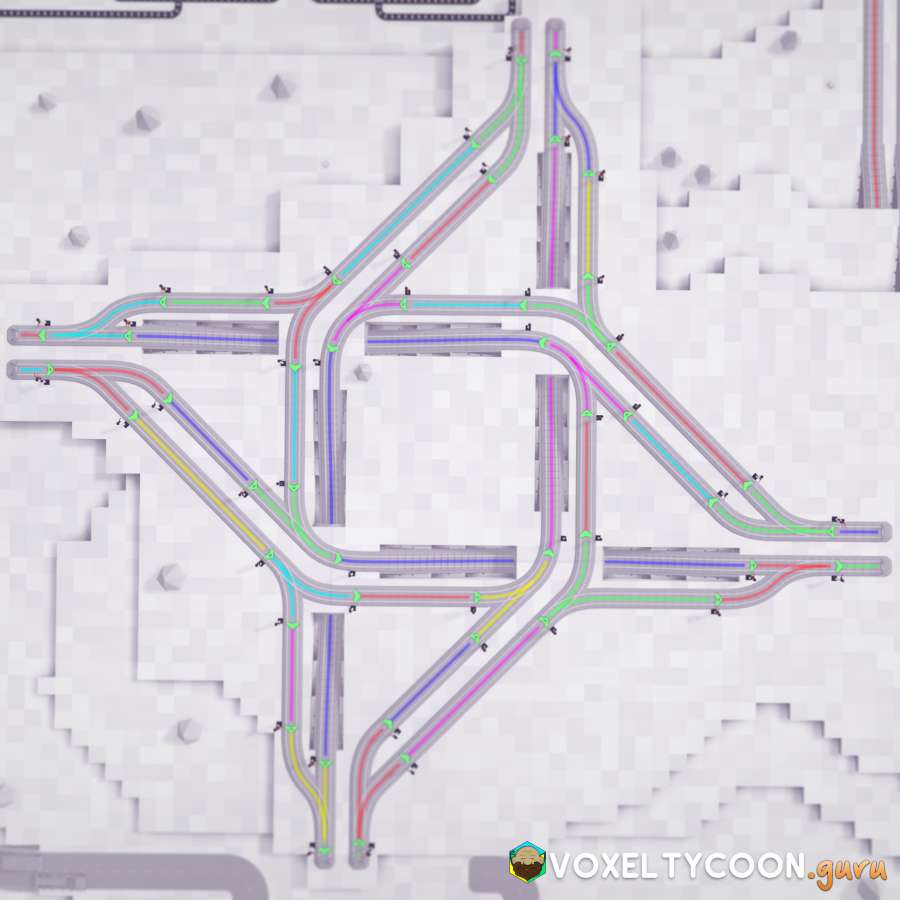
- Here is after adding signals, using pre-signals before intersections and signals after intersections
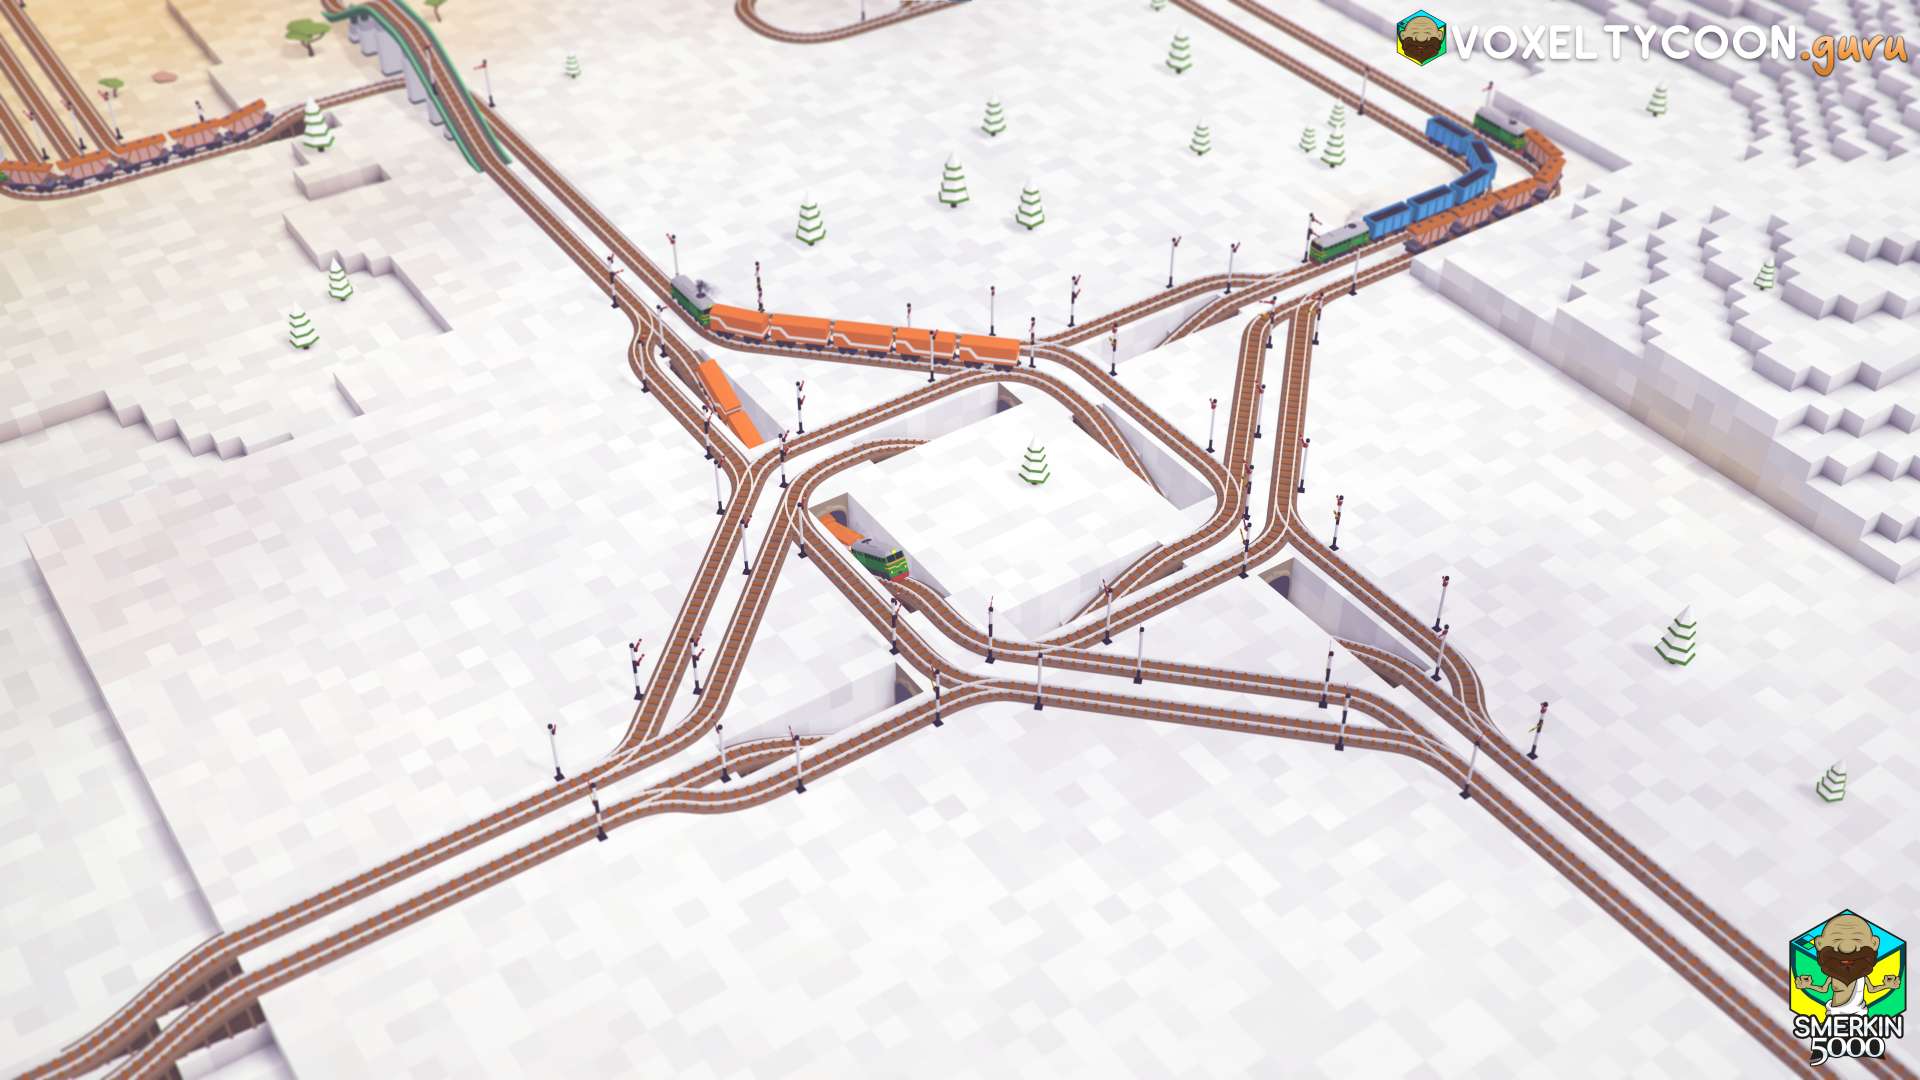
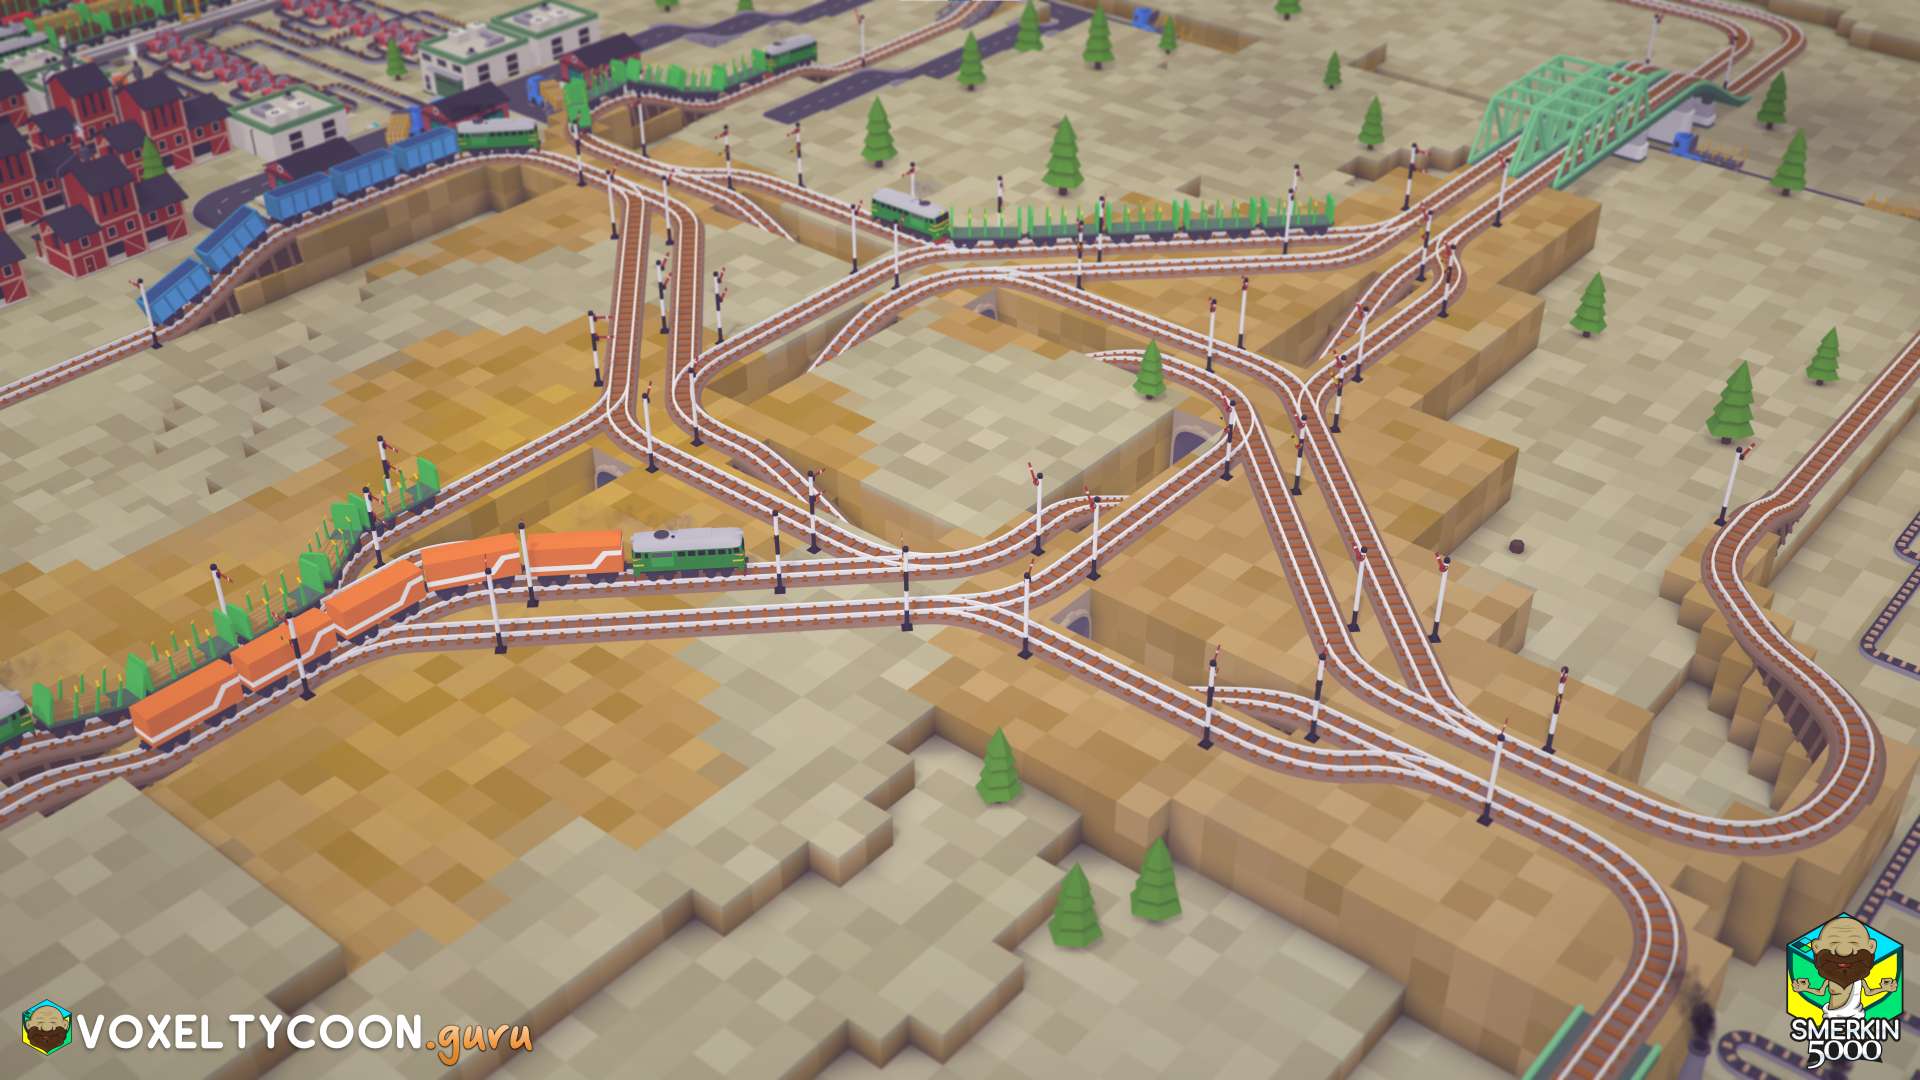
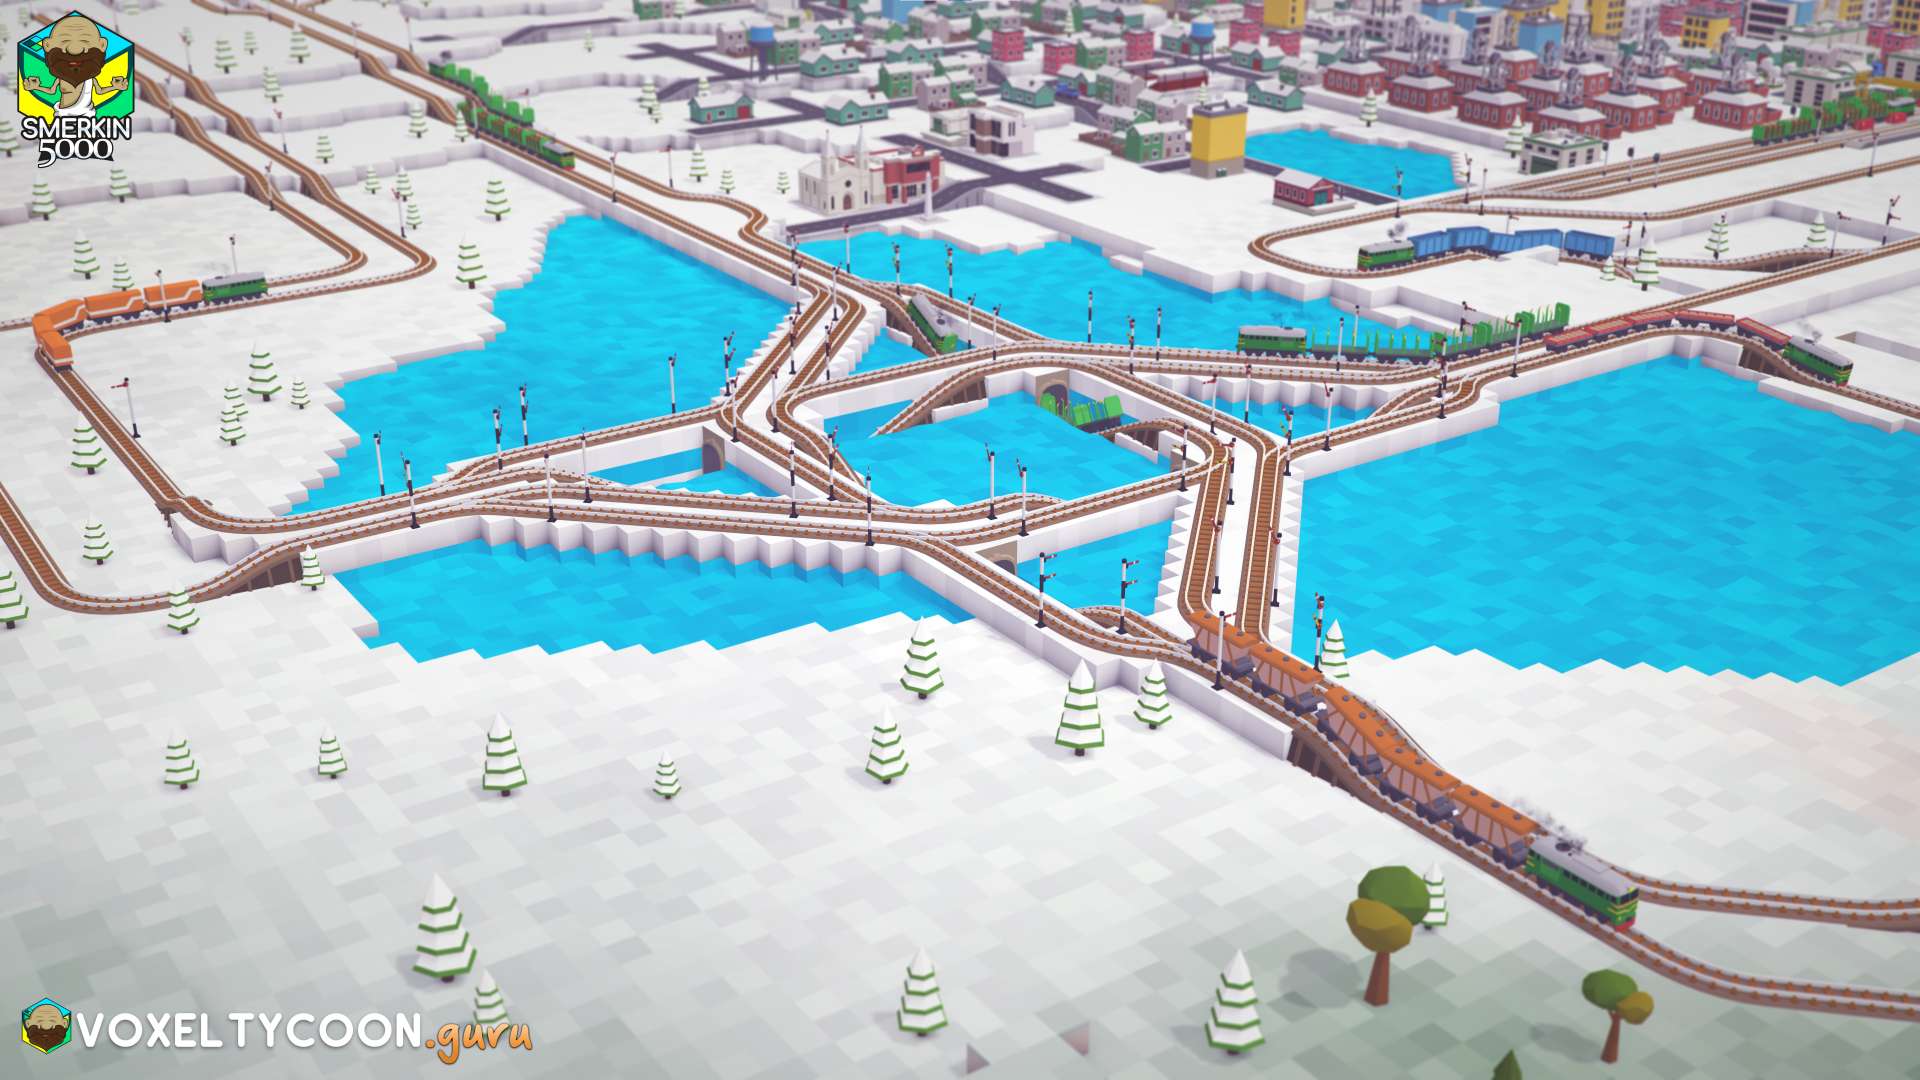
- Finally after connecting it to the network it becomes operational
Right Hand Variant
Exact same steps as above however they are flipped.