Overview
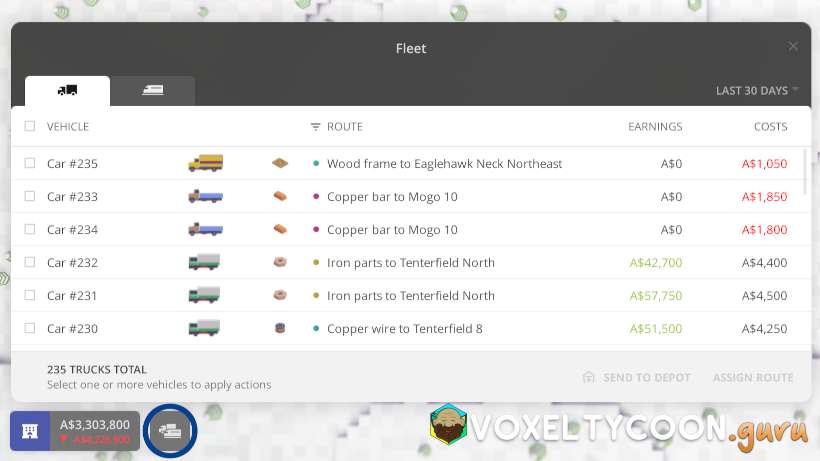
- The Fleet menu allows you to view your overall fleet from a glance and perform actions against multiple vehicles/trains
- Access the Fleet menu from the bottom left of the screen
- There are two tabs at the top left corner:
- Vehicles
- Trains
Features
- Sorting columns
- Filtering routes
- Adjusting view period
- Sending selected vehicles/trains to a garage/depot
- Assigning selected vehicles/trains to a route
Sorting / Filtering
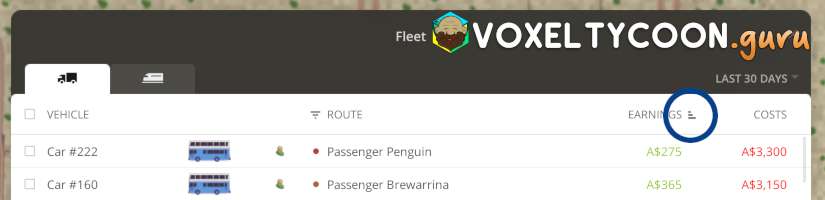
- Sorting is performed by clicking the graph icon to the right side of the column name
- Clicking will alternate between ascending and descending

- Filtering is performed by clicking the graph icon to the left side of the column name
- For columns that allow filtering
- When a filter is applied, the graph icon will have a circle indicating it
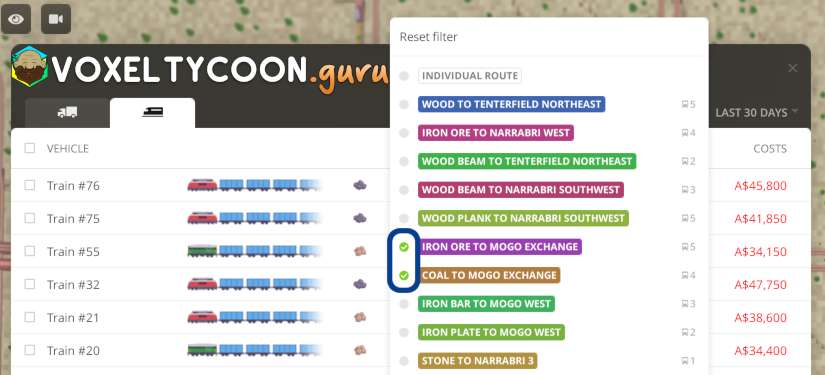
- When you click the filter icon, a list of routes appears where you can select the routes you want to filter by
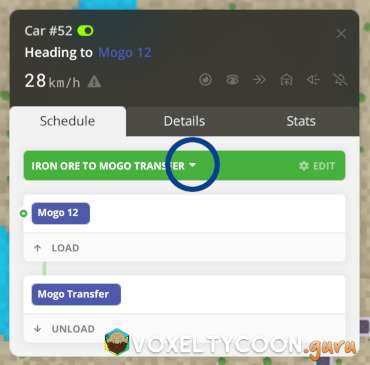 | 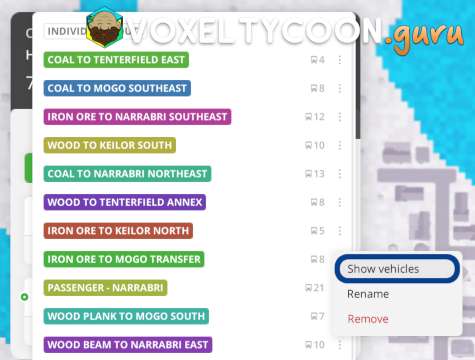 |
- Another method of applying a route filer is via the details of a vehicle
- Click the down arrow on the route selection
- In the list of routes, click the three dots to the right of the route and select Show vehicles
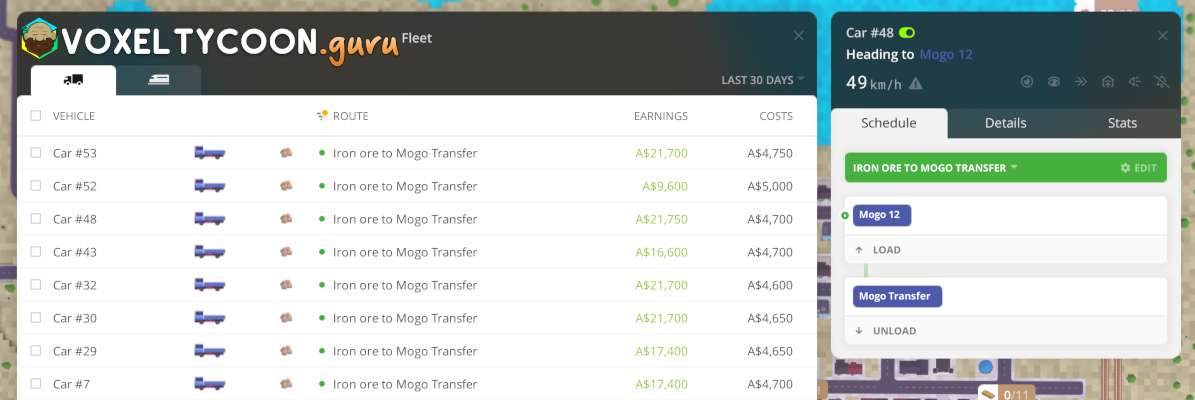
- Here you can see the Fleet menu with the route applied as a filter
View Period
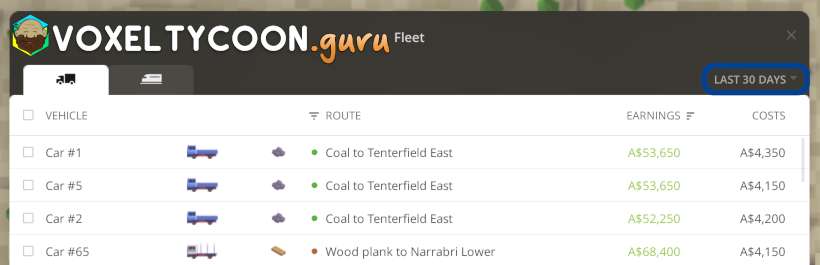
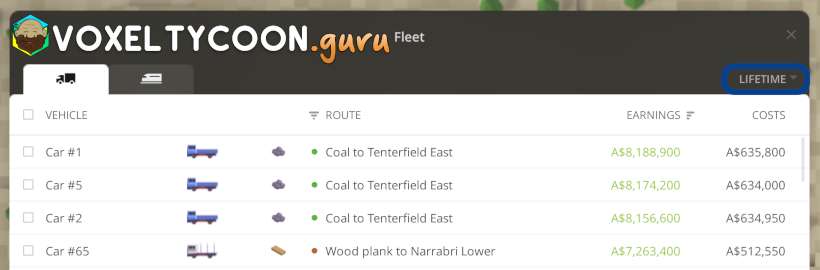
- The top right corner has a drop down that lets you change the time period for the vehicles/trains
Send To
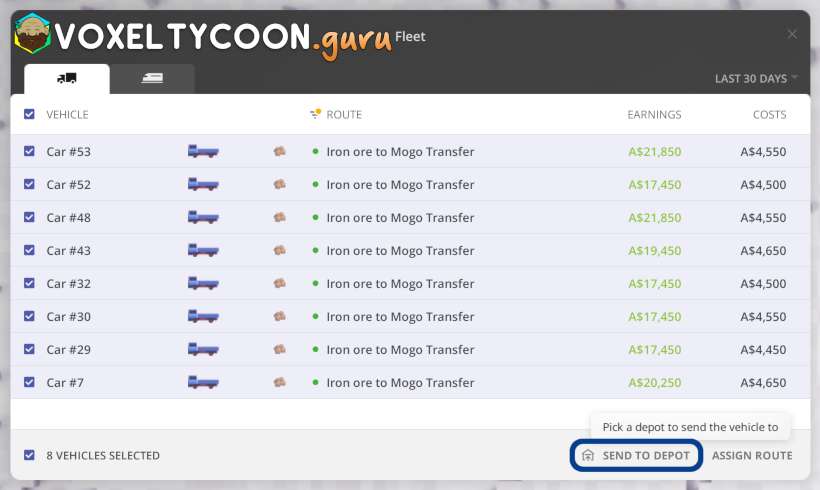
- The Send To Depot button allows you to send one or more vehicles to a garage/depot
- Using the check boxes on the left select the desired vehicles/trains
- Click the Send To Depot button
- Click a depot/warehouse on the map / window
- They will be immediately sent
- The time it takes for them to reach the depot will depend on how far they are
- NOTE: They will be teleported and hence will stop in their spot temporarily halting traffic
Assign Route
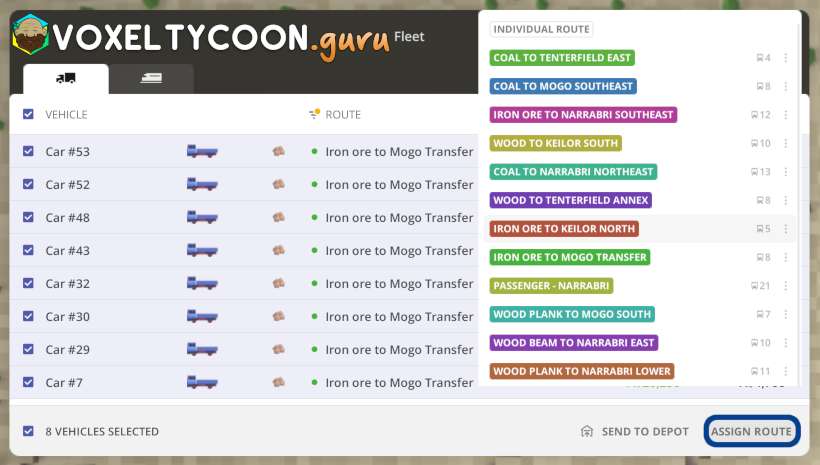
- The Assign Route button allows you assign one or more vehicles a
- Using the check boxes on the left select the desired vehicles/trains
- Click the Assign Route button
- Select one of the routes from the list that is presented
- This change will be immediate, the vehicles will adjust their route accordingly